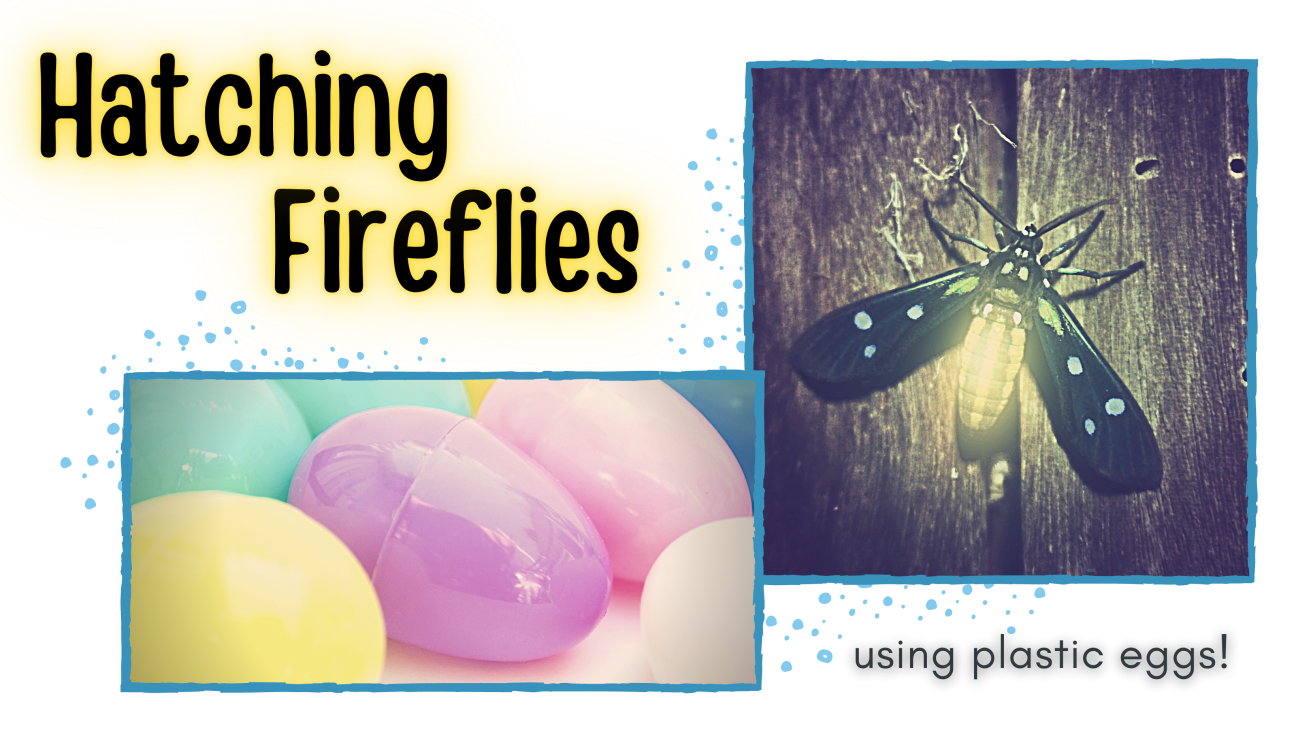
May is finally upon us and that means it's time to bid farewell to spring. You might find yourself with excess plastic Easter eggs hanging out around the house. Don't put them in your blue recycling bin, though! According to the wonderful folks at Alachua County Recycles, plastic eggs, cellophane wrappers, and plastic grass cannot be recycled and will actually damage their machines. Instead, try to reuse or repurpose those eggs and give them new life.... perhaps as a cute firefly?
Fireflies (also known as "lightning bugs") can appear as early as mid-May and as late as June. When exactly they start lighting up your backyard depends on several different environmental factors, such as temperature, humidity, and how soon summertime weather starts. They prefer to hang out around damp, woodsy areas and don't like a lot of artificial light (like streetlamps). Unfortunately, their preferred habitats are starting to dwindle due to human expansion. Your best bet to see them is to visit a park or a woodsy backyard around dusk, when they're most active.
Did you know.....
- Fireflies aren't flies at all. They're actually beetles!
- There are nearly 2,000 different kinds of fireflies.
- Firefly larvae eat slugs, earthworms, and other soft-bodied insects.
They especially love to eat snails! - The island of Jamaica in the Caribbean Sea is home to more than 50 firefly species.
- Fireflies can produce different colors: yellow, green, or pale red.
For more fun facts about fireflies, check out our Gale in Context eSources for more information.
Now, let's get started!
**For this craft you'll want to have a grown-up help you, as there are a few steps that require using a sharp object.**
Supplies and Tools:
- Plastic Easter egg (one for each bug)
- Pony beads (26 per egg)
- Moveable plastic eyes, "googly eyes" (2 per egg)
- Pipe cleaners (6 per egg)
- LED votive candles (1 per egg)
- Glue dots (2 per egg)
- Scissors
- Sewing tape measure (or a piece of string marked at each inch)
- Marker
- Thick mat or cardboard
- Bead reamer, awl, large needle, or Xacto blade
Instructions:
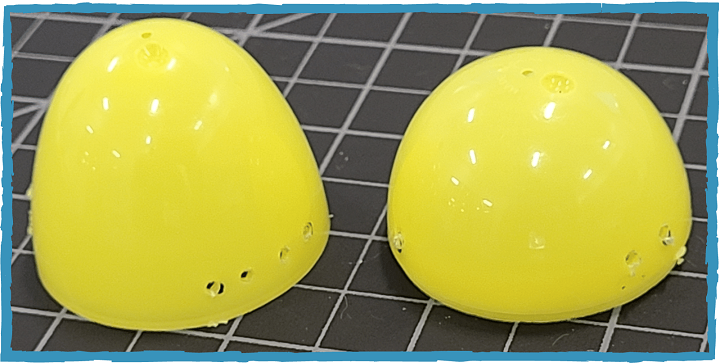
Step 1. Lay out the cardboard or thick mat to help protect your work surface. Separate your egg pieces (if your egg is the type that comes attached, you'll need to use scissors to cut the pieces apart).
These next steps sound complicated when reading, so be sure to reference the picture below!
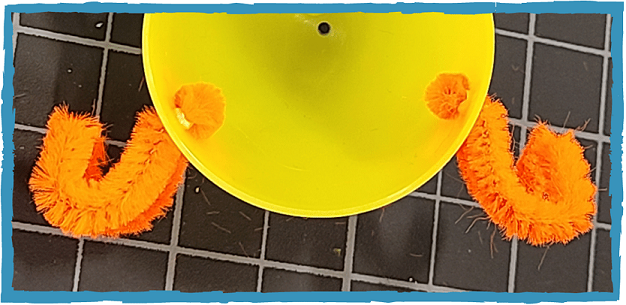
Step 2. Using your marker and tape measure (or string), mark two holes on either side of the bottom of the longer egg piece -- these are the leg holes. Using the same technique, mark one hole on either side of the bottom of the shorter egg piece -- these are also leg holes.
Step 3. Turn the longer egg and mark four holes in a line, about 1/4" from the edge of the egg. This will be where your wings attach. Try to center them in relation to the leg holes.
Step 4. Turn the shorter egg and mark two holes in a line about 1/4" from the edge. This is where you'll insert the antenna, which should line up with the wings on the other side of the egg.
[Dots from left to right: one for a leg, two for antenna, two for legs, four for wings.]


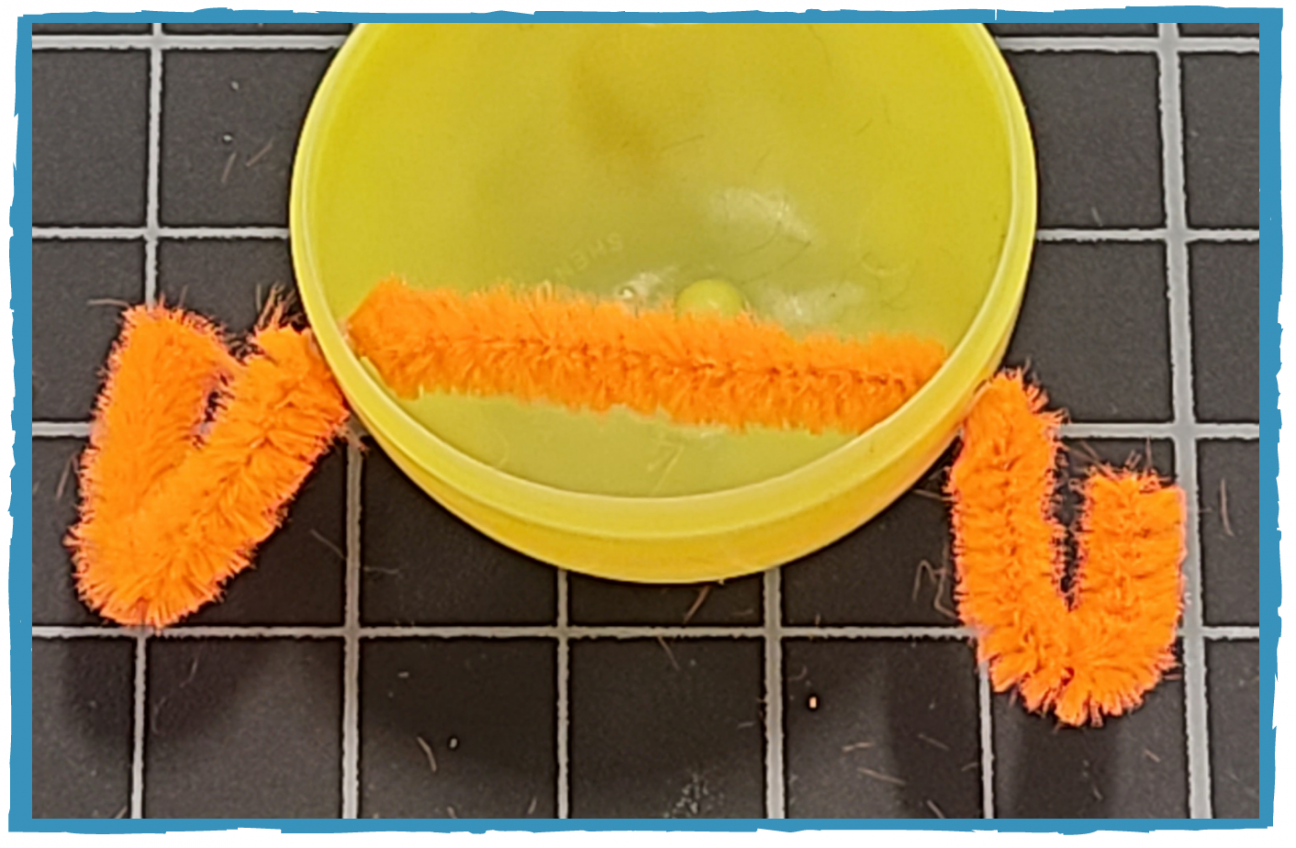
Step 6. Cut three 4" lengths of pipe cleaner. Take the longer side of the egg and thread a pipe cleaner into a set of leg holes (in one hole, then out the hole next to it). Do the same for the set of leg holes on the other side. Curl the ends of each strand to create feet.
Step 7. Take the shorter half of the egg and thread one end into a leg hole, across the inside of the egg, and out the other leg hole on the opposite side. Curl the ends of each strand to create feet.
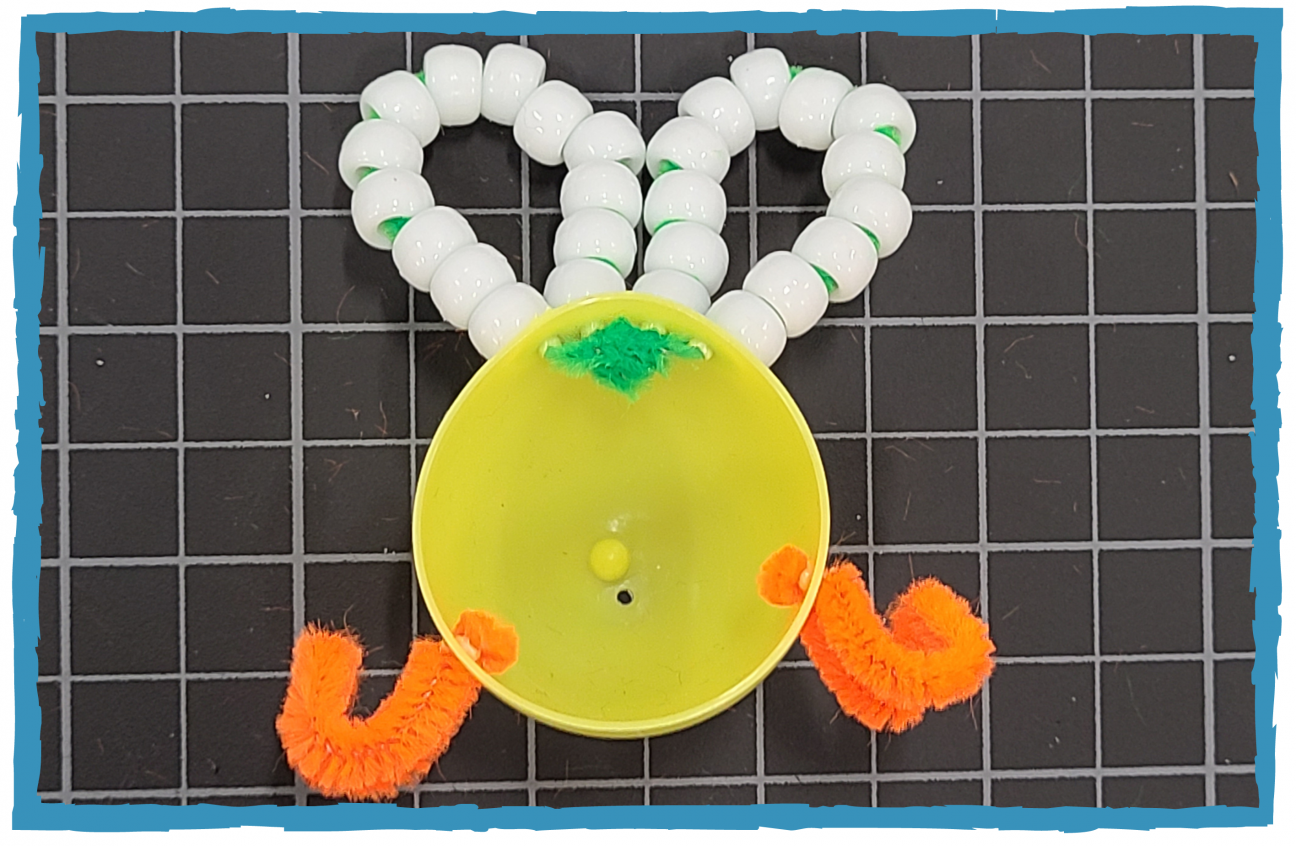
Putting the two halves together, you should have something like this:
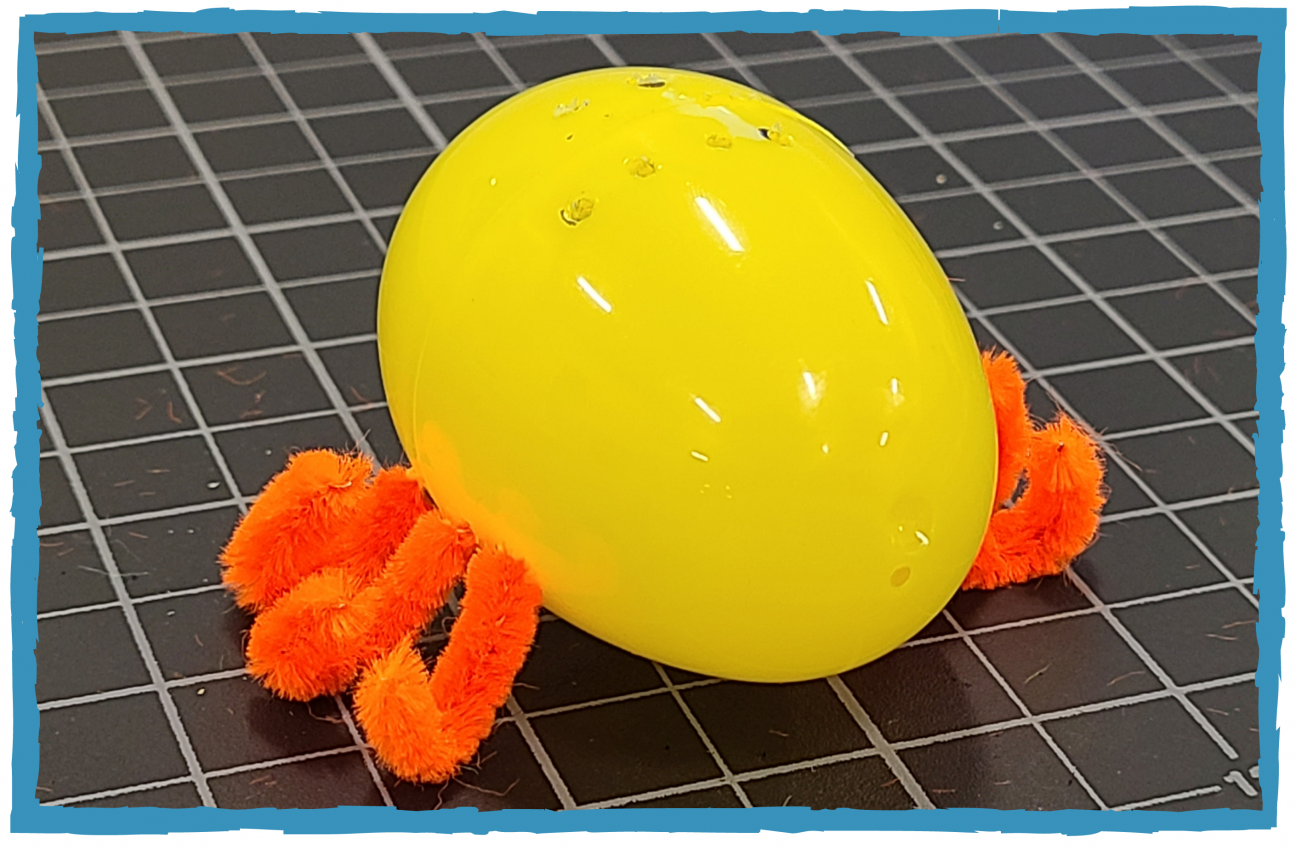
Looks a little spider-like right now, doesn't it? *Shudder* We'll fix that soon enough. Go ahead and pull the two halves apart again and follow along....
Step 8. Cut a 6" piece of pipe cleaner. Thread the pipe cleaner into the first hole on the "top" of the shorter egg piece, then back out the second hole. Curl the edges to form the antenna.

Step 9. Now take the longer side of the egg. Thread a full length pipe cleaner through the first of the four holes cut into the "top" of the egg piece. Leave about an inch or two hanging inside the egg. Slide 13 pony beads onto the pipe cleaner, then pull it back down, through the second hole in the line of holes, and then back up through the third hole.
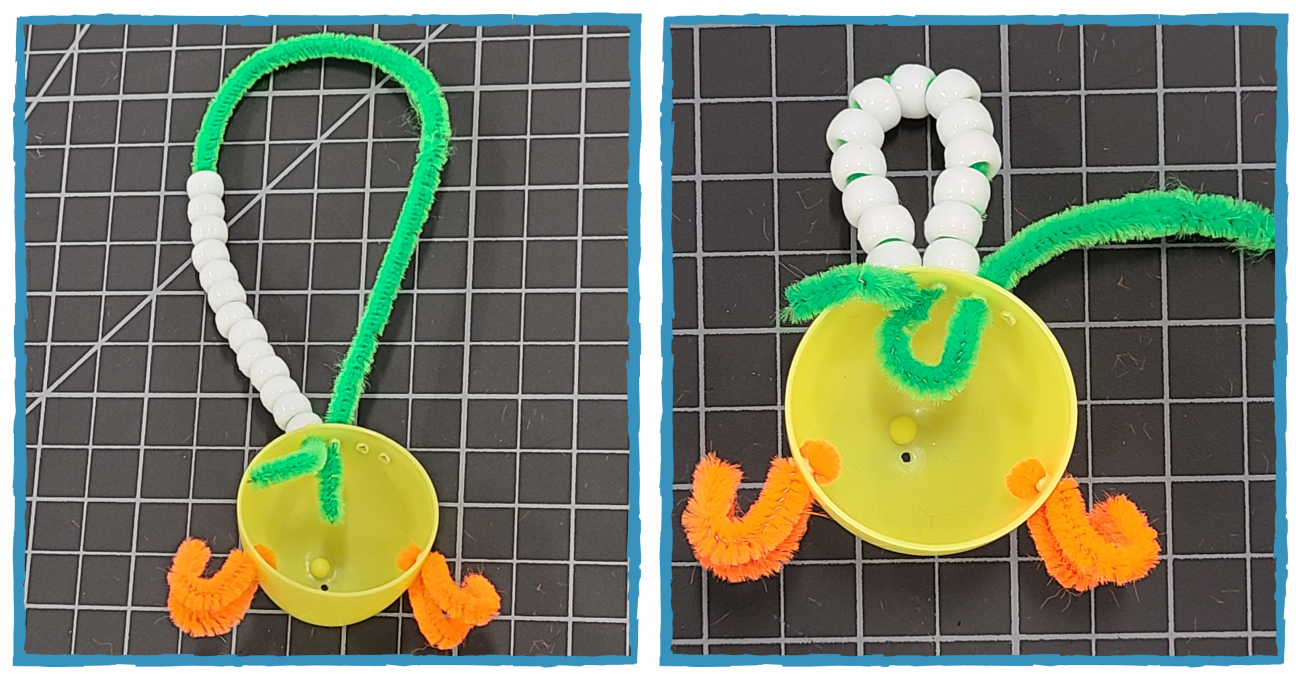
Step 10. Slide another 13 pony beads onto the pipe cleaner. Pull the pipe cleaner back down and through the fourth hole.
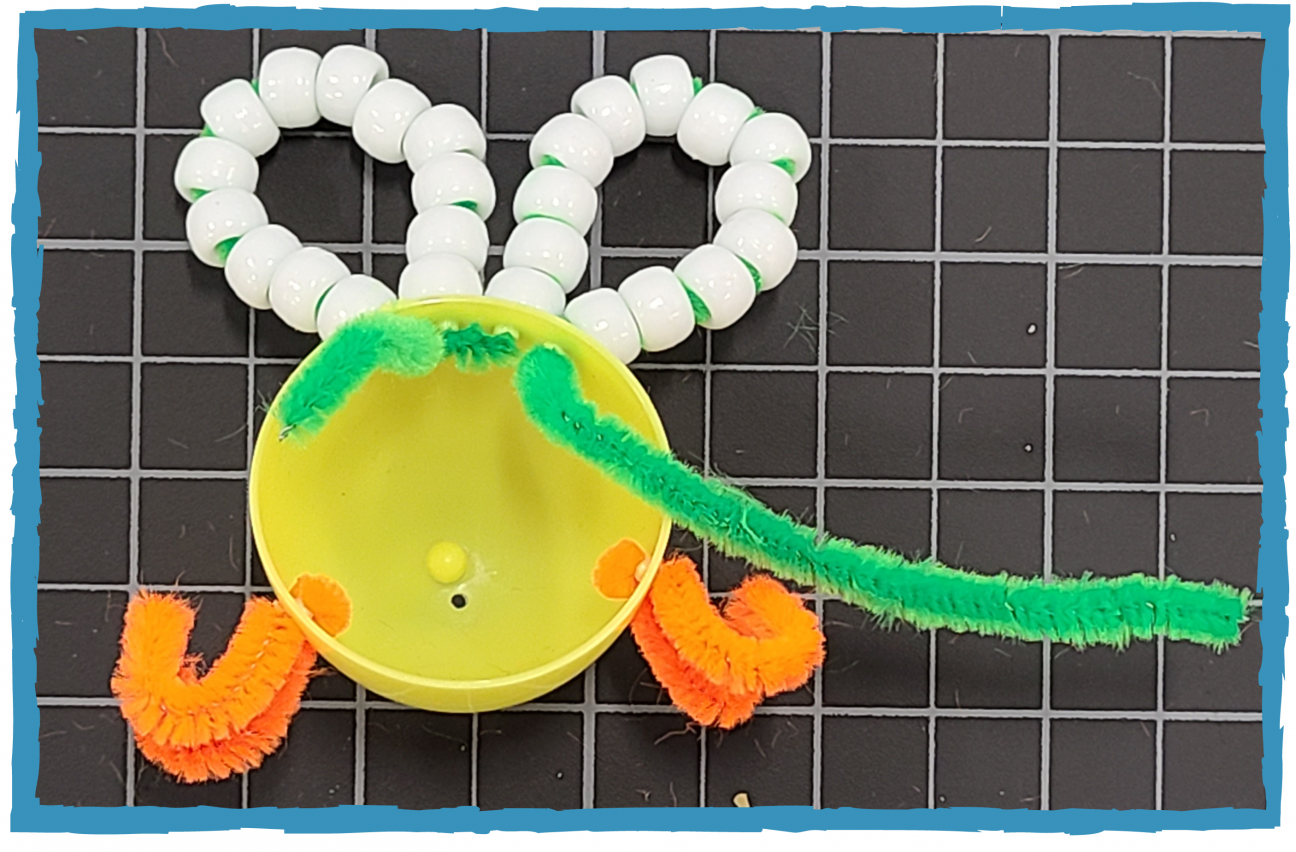
Step 11. Twist the two remaining strands of pipe cleaner together tightly a few times. Use scissors to trim away the excess, and tuck the twisted bit down into the egg's "top" inside.
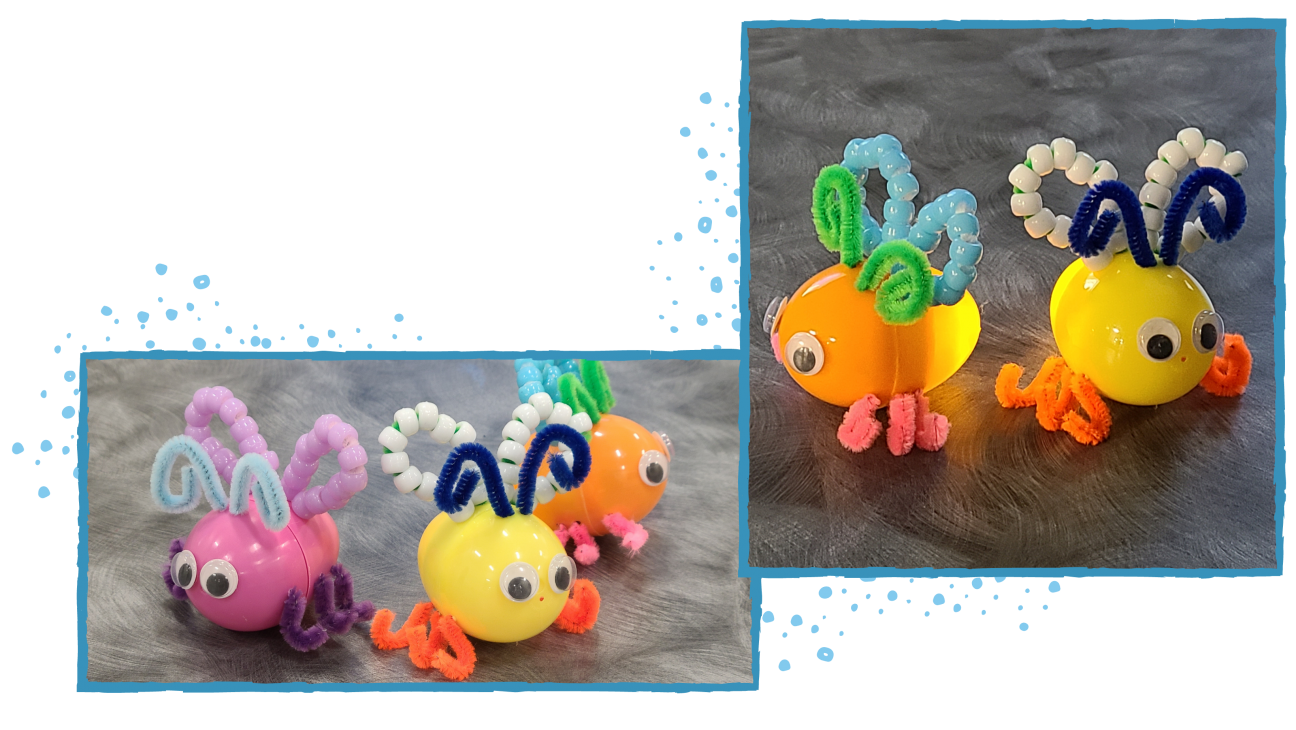
Step 12. Use glue dots to attach two googly eyes to the tip of the shorter egg piece. You can also use a hot glue gun for this step, but it can be a bit messy on the small eyes.
Put your two egg halves together again. It should look like a bug now, and definitely not like a spider. Yay!
(Spiders are actually a very important part of the ecosystem. I'm trying to love spiders, but it isn't easy!)

Alright, pull the egg apart one last time. We're almost there! It's just missing that one last piece to make it a true firefly -- the glow!
Step 13. Insert the "flame" end of an LED candle into the longer egg piece. I found it helpful to attach a glue dot to the side of the candle, so it could stick to the inside of the egg and stay in place better. But it's not necessary to do this.
Step 14. Turn on the candle, attach the pieces of your egg to each other, and marvel at the adorable firefly you've just created! Time to turn out the lights and enjoy the show!
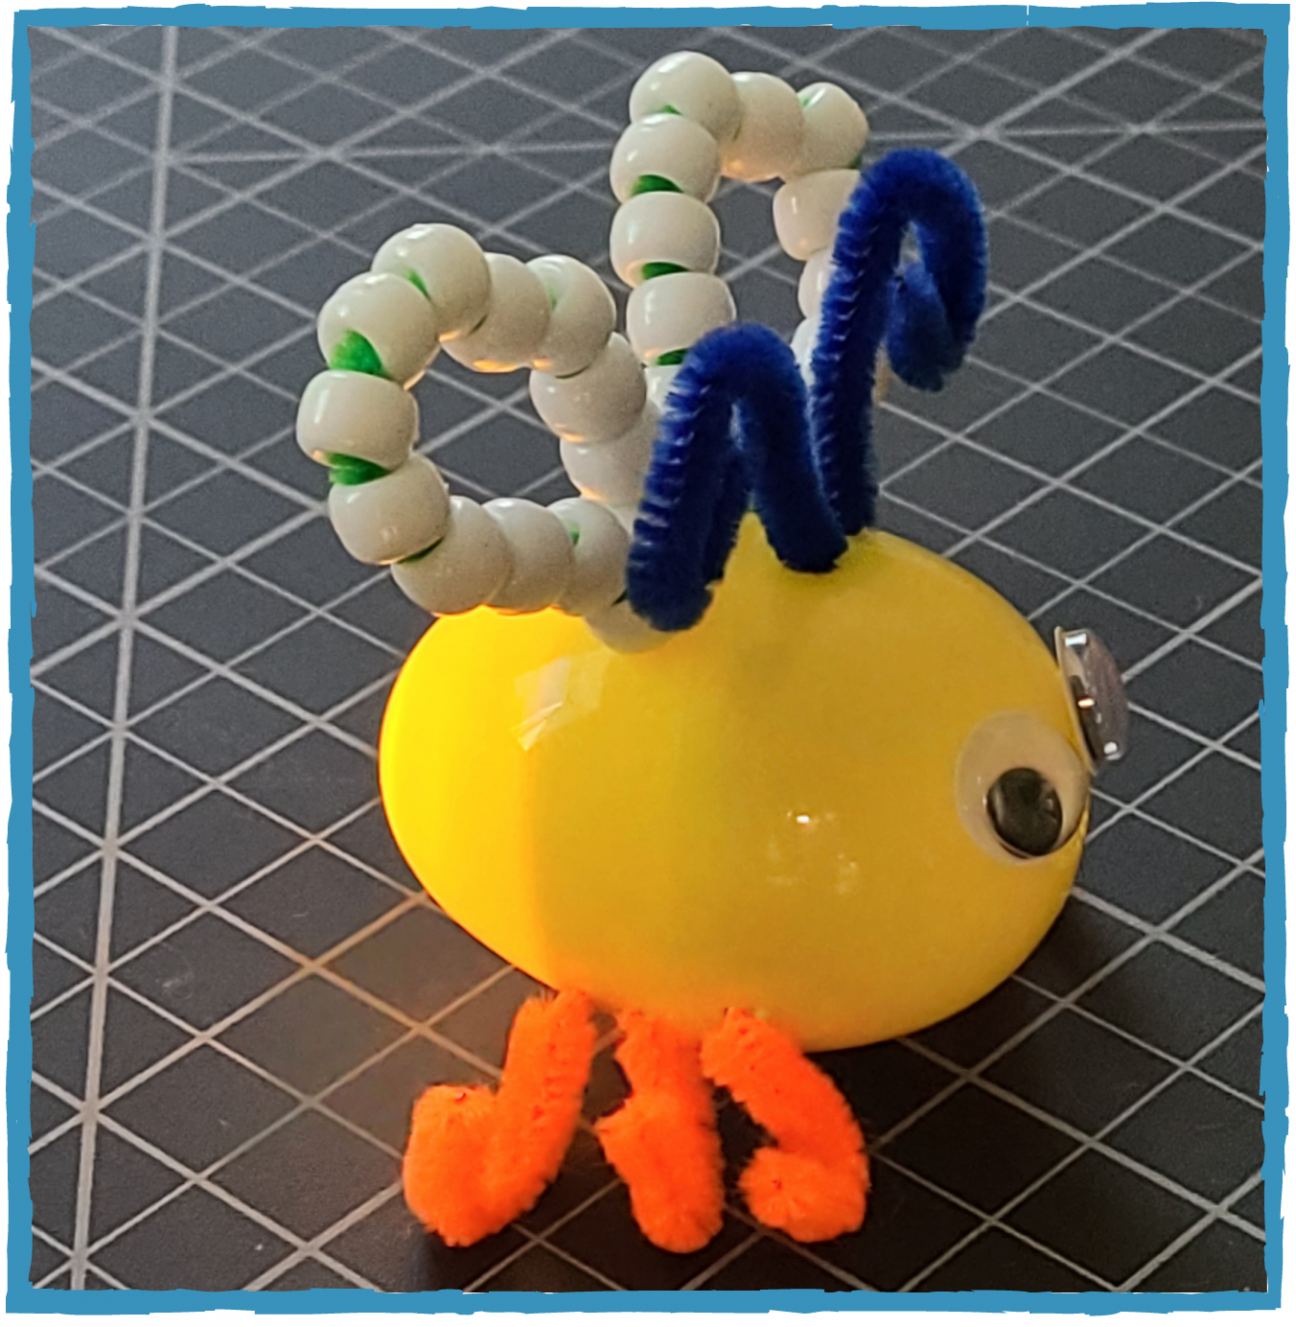
Great job! Experiment with other color combinations and see what kind of fireflies you can create!
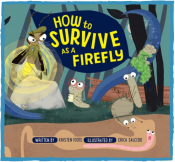
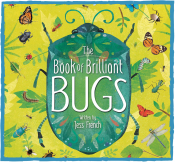
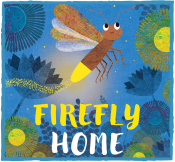
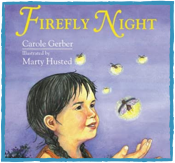
Interested in learning more about fireflies? We've got some great firefly picture books in our collection, or check out our children's nonfiction books. Don't forget about our downloadable books on Overdrive!
Here are some of my favorites:
There's also lots of fun information to be found in our eSources! Gale in Context features a wide range of authoritative sources for young learners with both elementary and middle school options. Try visiting our World Book Online for Kids to learn even more about fireflies and other cool bugs. Can't find the information you want? You can always visit one of our branches for help, or try our AskUs service, where you can chat with a library staff member online!
Whether you get the chance to see fireflies in your backyard, or simply on the pages of a book, now you can have your very own little glow bug to keep at home. Enjoy the warmer weather!