Welcome everyone! Today we're going to explore what 3D printing is and how to design 3D printable objects. If you're interested in 3D printing and would like a 3D printed object of your own, just click on the link and you'll be able to request one from the library's MakerSpace team! Requests will be accepted while supplies lasts so be sure to get yours in soon.
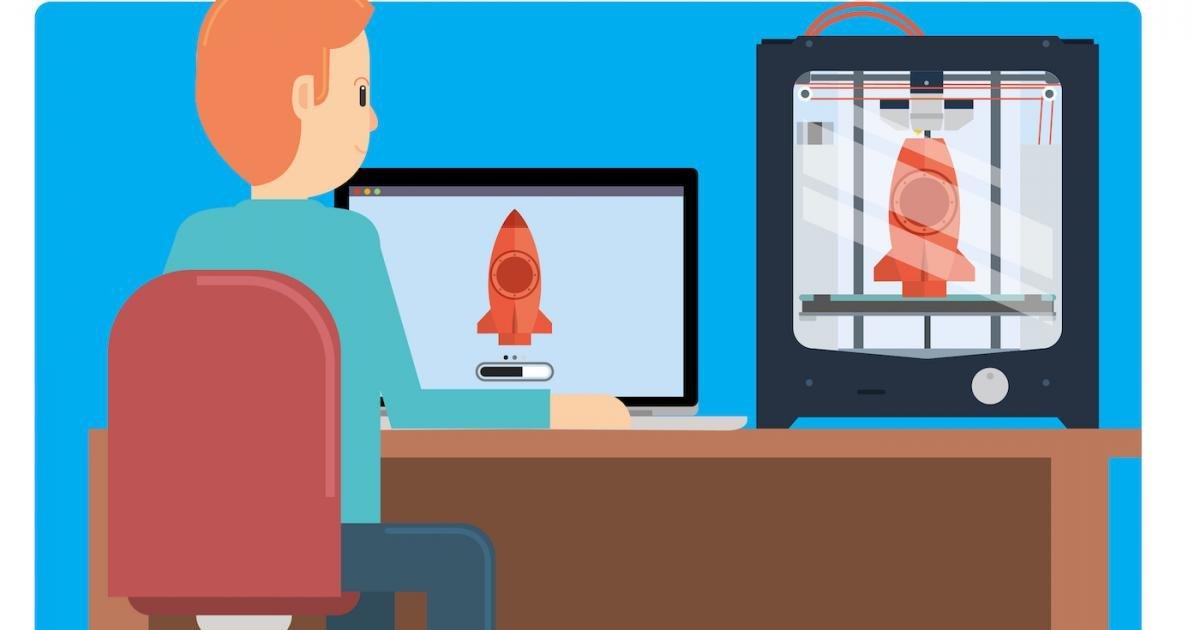
So what exactly is 3D printing? 3D printing is the process of making solid objects from digital files. We begin with a model stored in computer-aided design file; the model is sliced into hundreds or thousands of very thin horizontal layers using computer software, and each layer is sent to the 3D printer to be created successively until the entire object is formed. 3D printing is often used to make prototype models but can also be used to make working items such as tools, replacement parts, medical items, figurines, and more. But, before we can print an object, we first have to design one!
The tutorial we'll be following today is pulled from TinkerCAD - an open-access 3D-design tool. Just create your free account and you'll be able to look through all of their starters, lessons, projects, and the TinkerCAD gallery which contains other users' shared designs! You can also dive into TinkerCAD's blog filled with all sorts of information on 3D printing materials, key shortcuts for the 3D editor, and other helpful tips and tricks.
If you'd like to follow along with the tutorial below in TinkerCAD, simply sign in and click on the "Learn" link in the top right corner. Navigate to "Lessons" and then "See all Lessons". Click on the item named "Saw Shaped Wrench" and let's get started!
Note: If you've never used TinkerCAD before or are having difficulties with the controls, you may wish to review the "Starters" page for some useful how-tos.
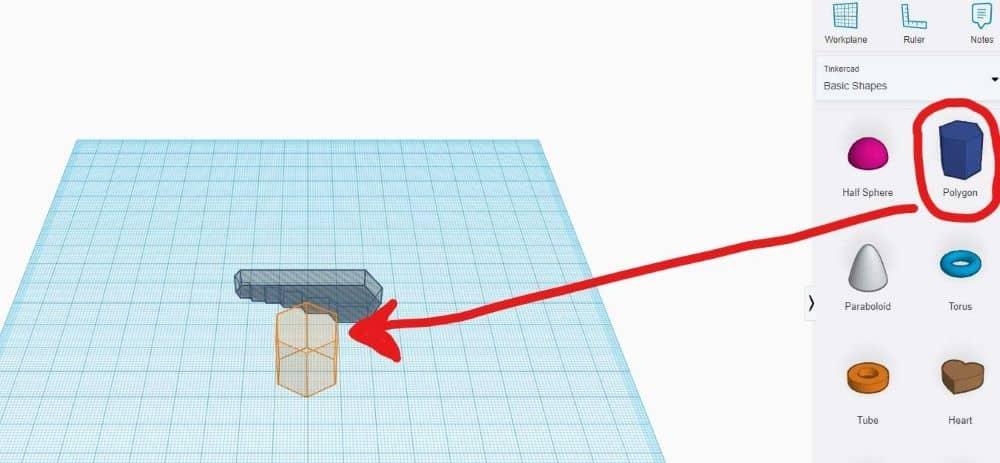
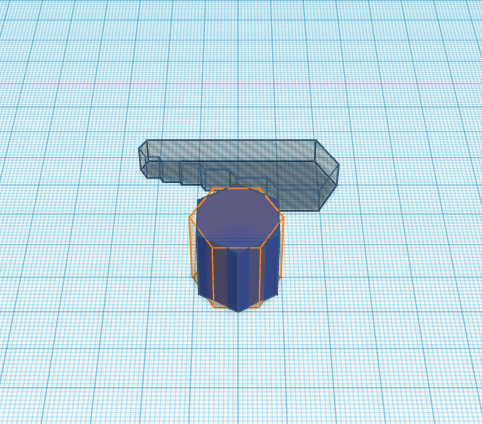
Step 1: Start the lesson by dragging a polygon to the workplane.
Step 2: Rotate it 30 degrees.
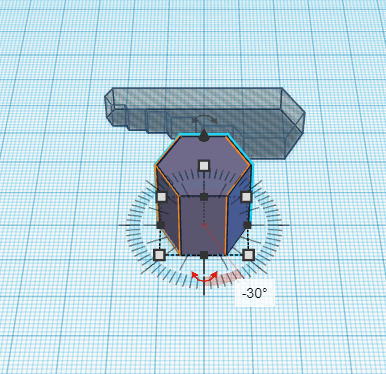
Step 3: Hold the shift button and scale it smaller to a width of 14mm. Then to a height of 3mm. Remember you can adjust the "Snap Grid" located in the lower right corner of the editor from 1.0 to 0.1 for more control.
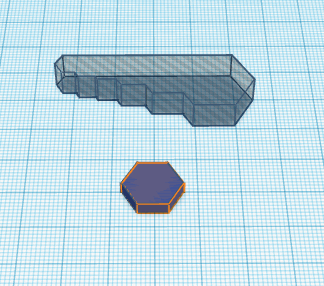
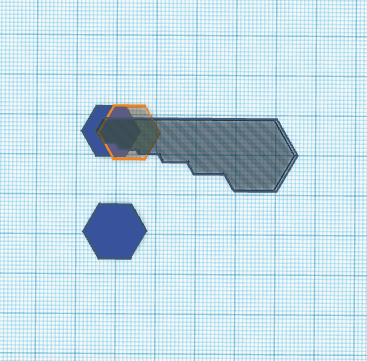
Step 4: Move it to the area outlined in orange. Duplicate the shape in place by pressing CTRL+D on the keyboard.
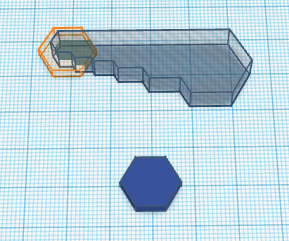
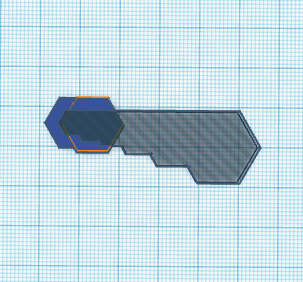
Step 5: Scale it bigger to the size of the area outlined in orange. Keep the shift button pressed while scaling! Be as accurate as you want.
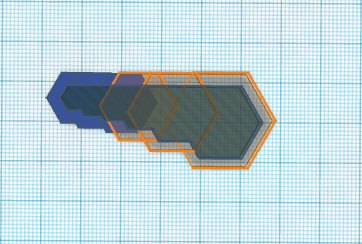
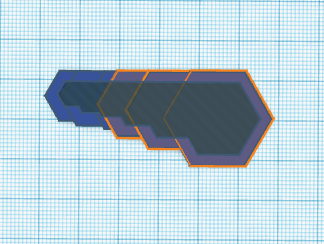
Step 6: Repeat the previous steps to make the rest. CTRL+D, Move and scale it to the next area outlined in orange.
Step 7: Drag a tube shape to the workplane.

Step 8: Scale the tube to the height of 2.5mm and size (length/width) of 10x10mm. Be sure to adjust the wall thickness setting to 5 as well.

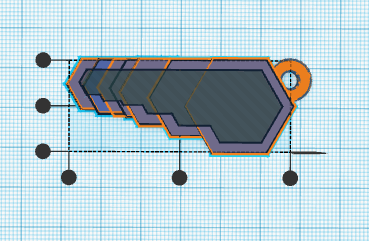
Step 9: Because it's a tool, let's make it precise by aligning the shapes. Select all objects except the hole shape. Click the Align button (highlighted in blue in the image below) on the menu bar. Now, align the shapes in the area outlined in orange.

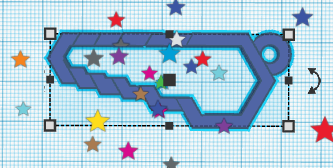
Step 10: You're almost done! Select all the objects. Group them together by clicking the group button on the toolbar or by using Ctrl + G.
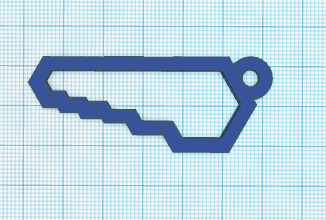
Step 11: Congratulations! You made it! Now you can save your design, share it with others, or have it printed!
Watch a timelapse video of our 3D printer making this item here!
More Info:
Want to learn more about 3D printing and design? TinkerCAD's website also contains resources on circuits and codeblocks plus they have their own YouTube channel for users to explore!
Thingiverse and Youmagine are online databases filled with 3D printable designs others have created! These are available for users to download and customize or simply print "as-is". You can have custom designs printed locally through UF Libraries' 3D Lab for a small fee.
You can find additional resources within the ACLD catalog as well! Our eSources page lists all sorts of useful research databases like Gale in Context: Elementary, Gale in Context: Middle School, O'Reilly, and Florida Electronic Library as well as eBook and eAudiobook sources like OverDrive and Novelist. If you'd prefer to explore books on 3D printing in the library's collection, check out these suggestions below: