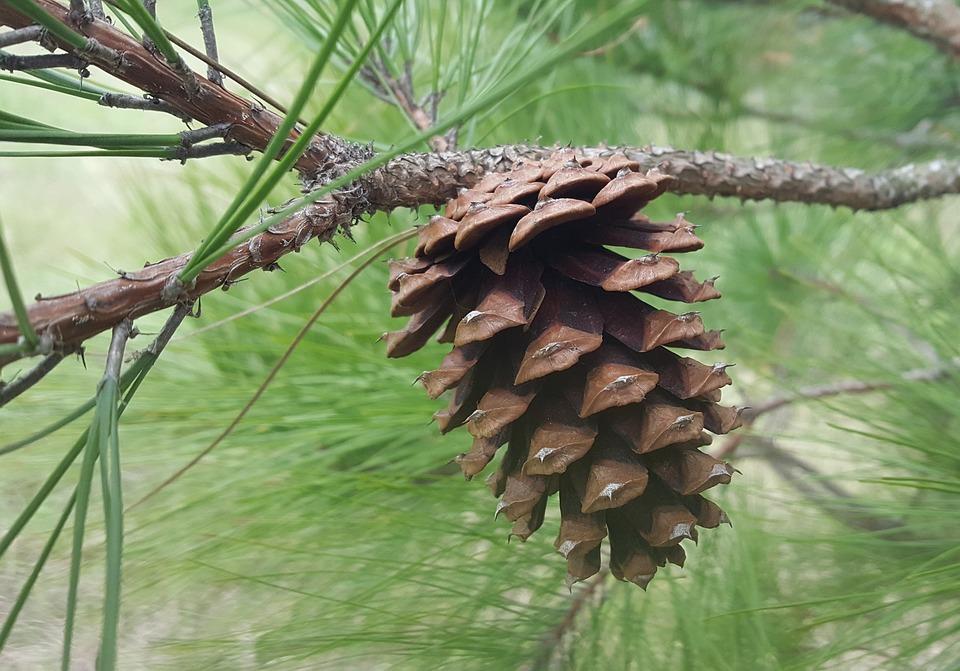
Pine cones are the seed vessels of pine trees. Pine trees are one of the most ancient plants on earth, dating back to prehistoric times. The main function of the pine cone in nature is to protect the seeds of the pine tree. The pine cones you see lying on the ground are all female. The male pinecone is very small and not showy.
Throughout history, and in many different cultures around the world, pine cones are considered to be a sacred symbol. They are the official state flower of the state of Maine. They are also used extensively in decorating and arts and crafts, especially during the holiday season.
Here we will learn how to make a basic pine cone bouquet that can stand alone, or be dressed up to celebrate any season or holiday.
Materials you will need:
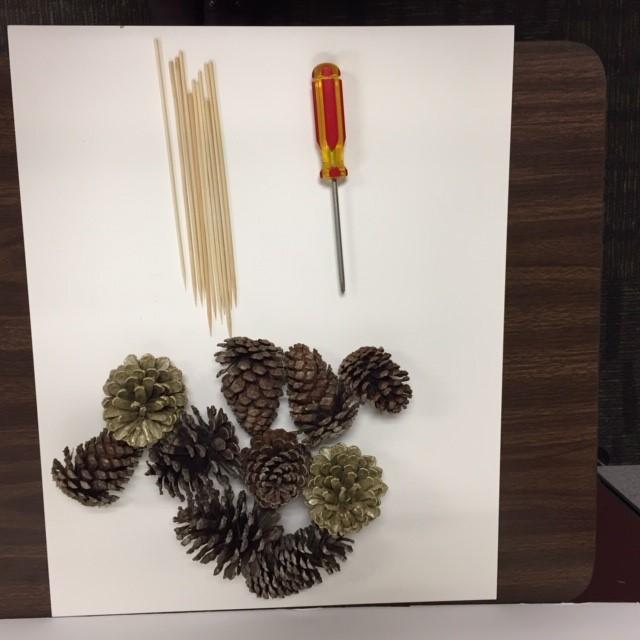
- 6 to 10 small pine cones
- 6 to 10 wood skewers
- Phillips head screwdriver*
- container to use as a vase
- a purchased or homemade floral frog**
**A floral frog is a device used to help arrange flowers and keep them in place.
Optional Materials:
- *A drill and drill bit make it much easier to bore the hole in the pine cone, if available
- Glue gun and glue sticks to secure pine cone to skewer
- Materials for floral frog: paper cup, sharp-ended toothpicks, scotch tape, chicken wire, tin snips or wire cutters, scissors, gravel, decorative stones or glass beads
- Seasonal accents: paint, ribbon, yard greenery, flowers (paper, plastic or fresh), fall leaves, essential oils
Instructions:
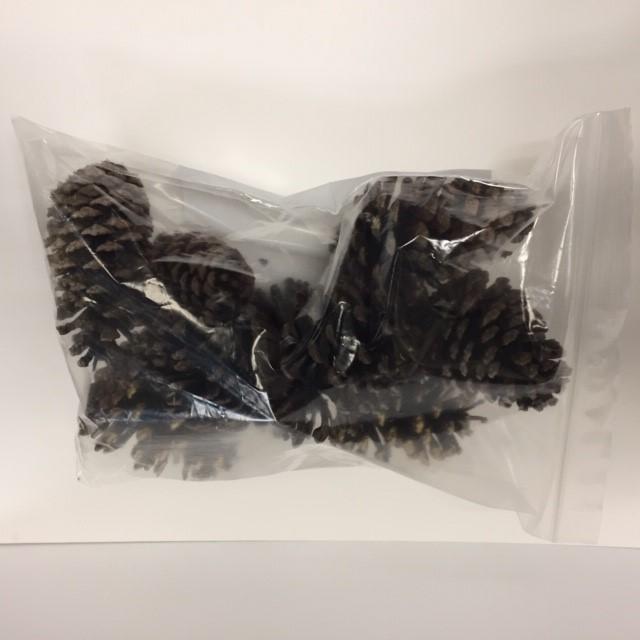
Gather your pine cones. I brush them off a bit to clean them and keep them in a plastic bag overnight to catch any bugs.
If you would like to prep them a little more thoroughly by wet cleaning and baking them, please check out How to Prepare Pinecones.
Using your screw driver, bore a hole into the bottom of the pine cone. Keep boring until you can secure a skewer into the bottom of the pine cone. Repeat this step for each of the pine cones.
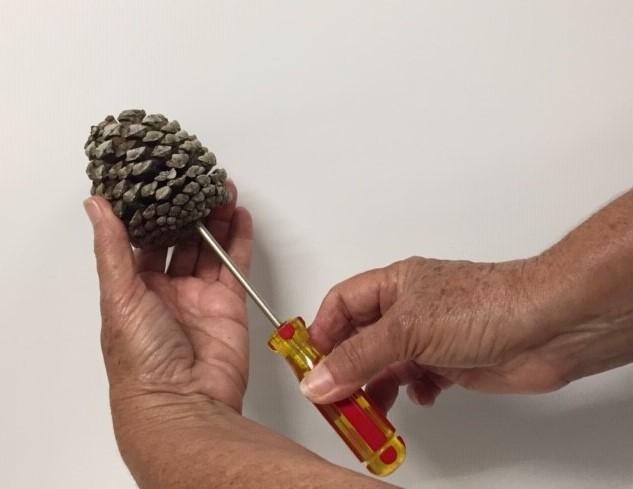
If you prefer a long-lasting, more secure fit for your pine cone on the skewer, you may use a glue gun to fasten it.
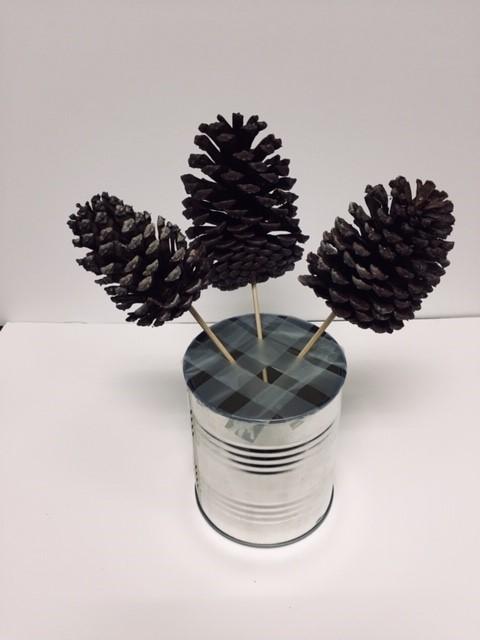
Now you must choose your container or vase. There are a wide variety of items you can use for your vase. You may use an actual vase, a jar, a bottle, a bowl, a pitcher, a tea cup, a tea pot, a glass, a tin can. The possibilities are endless.
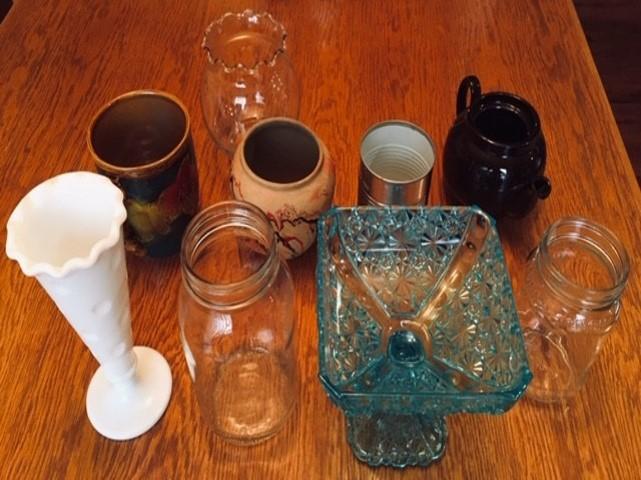
For this demonstration, I have chosen to use a tin can. Remember, you can also decorate your container, but that is a project for another time!
The next step is to choose your floral frog. You will need something to hold up your pine cones and keep them in place. The type of floral frog you make will depend upon what container you choose.
Floral frogs can be purchased at craft stores and antique stores. They are actually collector’s ítems.
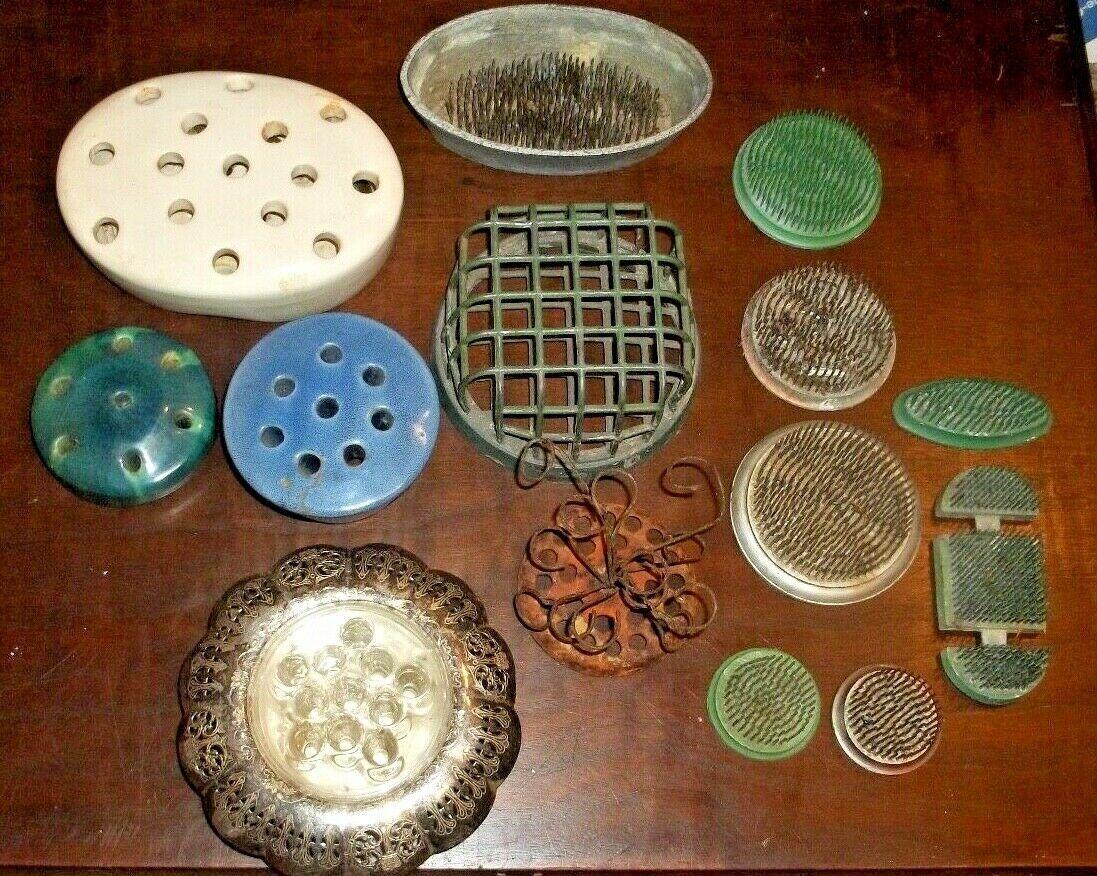
But they can also be homemade.
You can make an easy and effective floral frog using floral or scotch tape. I will be using this method for my pine cone bouquet.
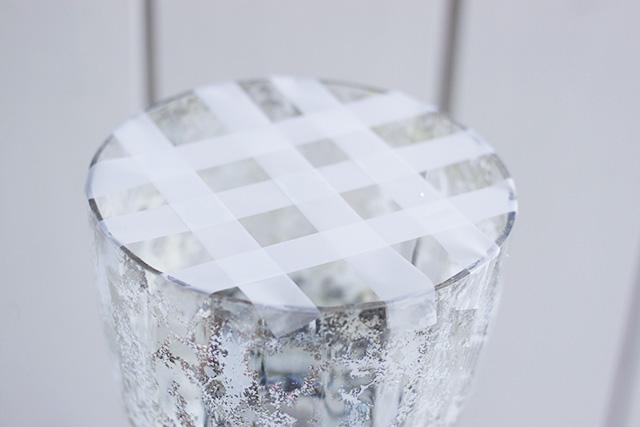
Simply tape a grid across the top of your container. For a demonstration, watch Floral Tape Grid Demonstration.
You can make a smaller floral frog using a paper cup and toothpicks.
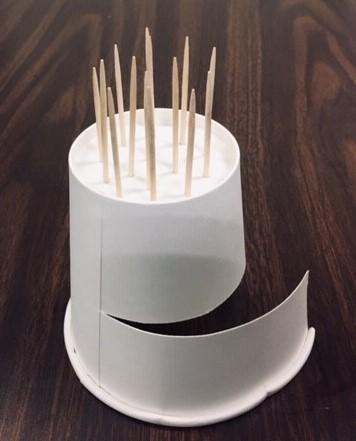
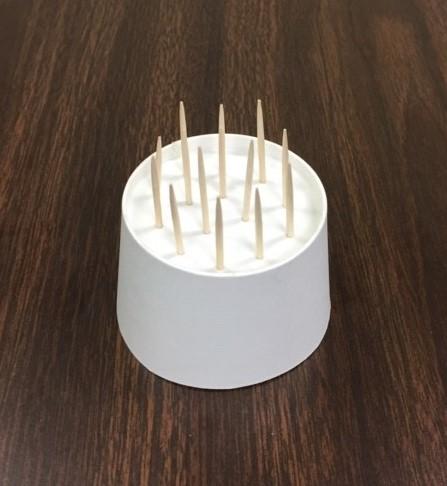
This type of floral frog would be good for a small container and a dry arrangement.
For any size container, you can make a chicken wire floral frog.
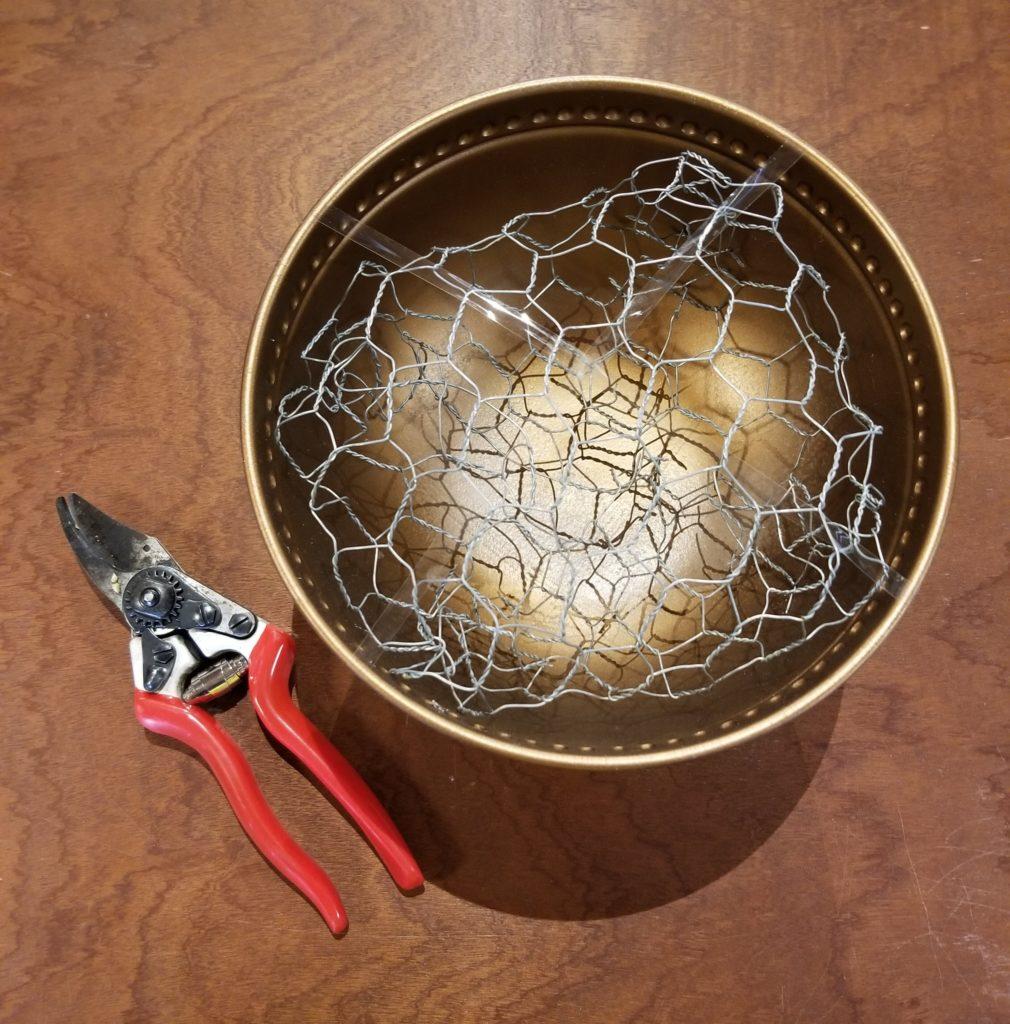
Chicken wire can be folded and molded into a ball that goes into the container. For a demonstration, please see Using Chicken Wire Instead of Floral Foam.
If you are using a glass container, you can use gravel, decorative stones, pine bark nuggets or glass rocks to hold up your pine cone arrangement.
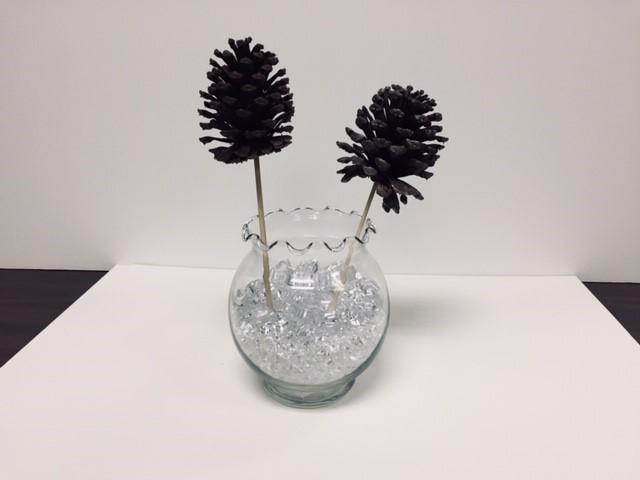
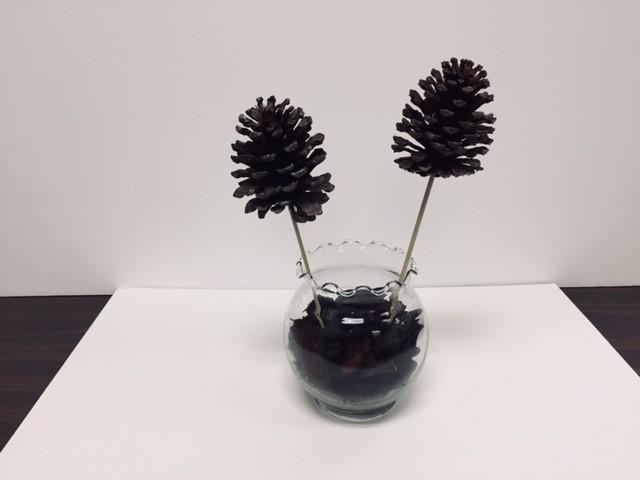
Once you have your container and your floral frog intact, begin inserting your pine cone stems.
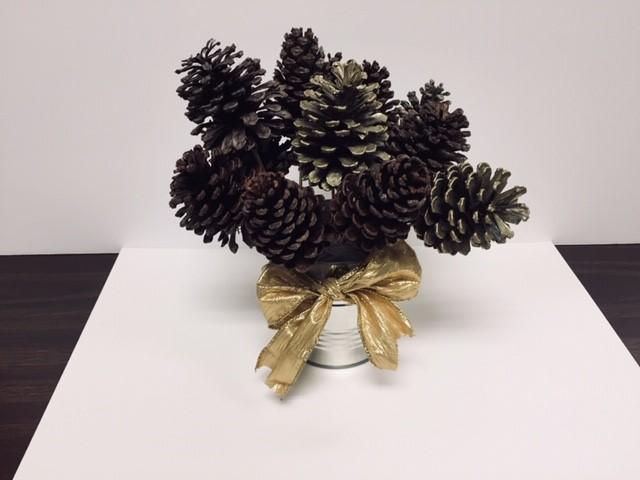
You can leave your pine cone bouquet basic. Or decorate it for every occasion.
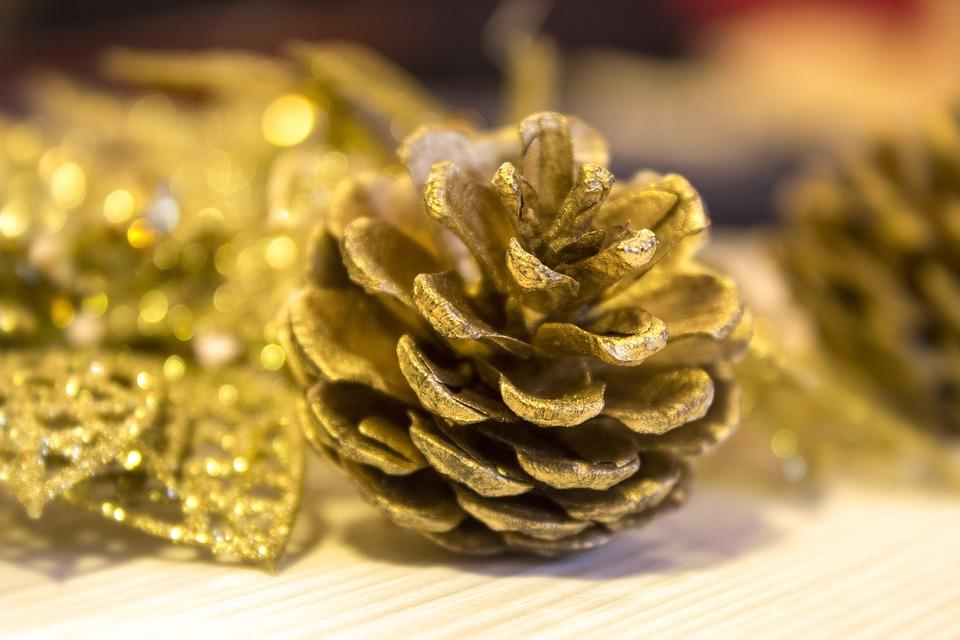
You can paint your pine cones before you attach the stems. They can be gilded or spray painted.

You can add essential oils like cinnamon to add fragrance.
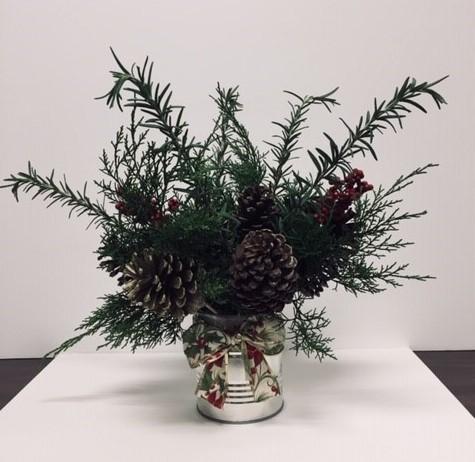
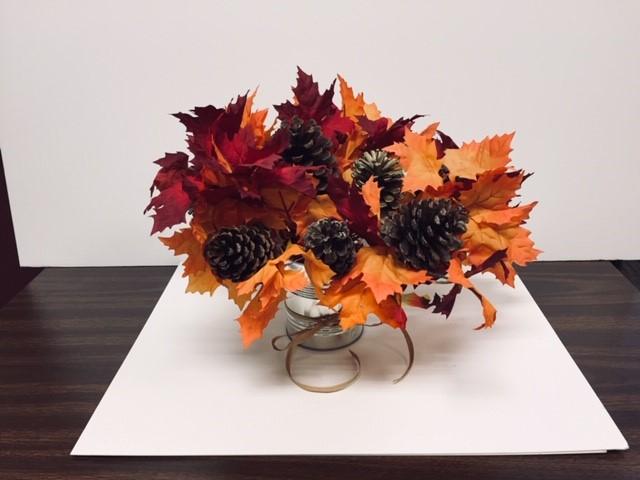
You can add greenery for a winter bouquet, fall leaves for a fall bouquet and spring flowers for a spring bouquet.

I hope you enjoy making a pine cone bouquet. If you like making crafts, please visit our esource Creative Bug and check out the library’s print and ebook collection for more ideas on how to create and decorate your home. Flower Arranging Holiday Crafts Trees Home Decorating
Happy Crafting!
Originally Posted by JeanH on November 12, 2020