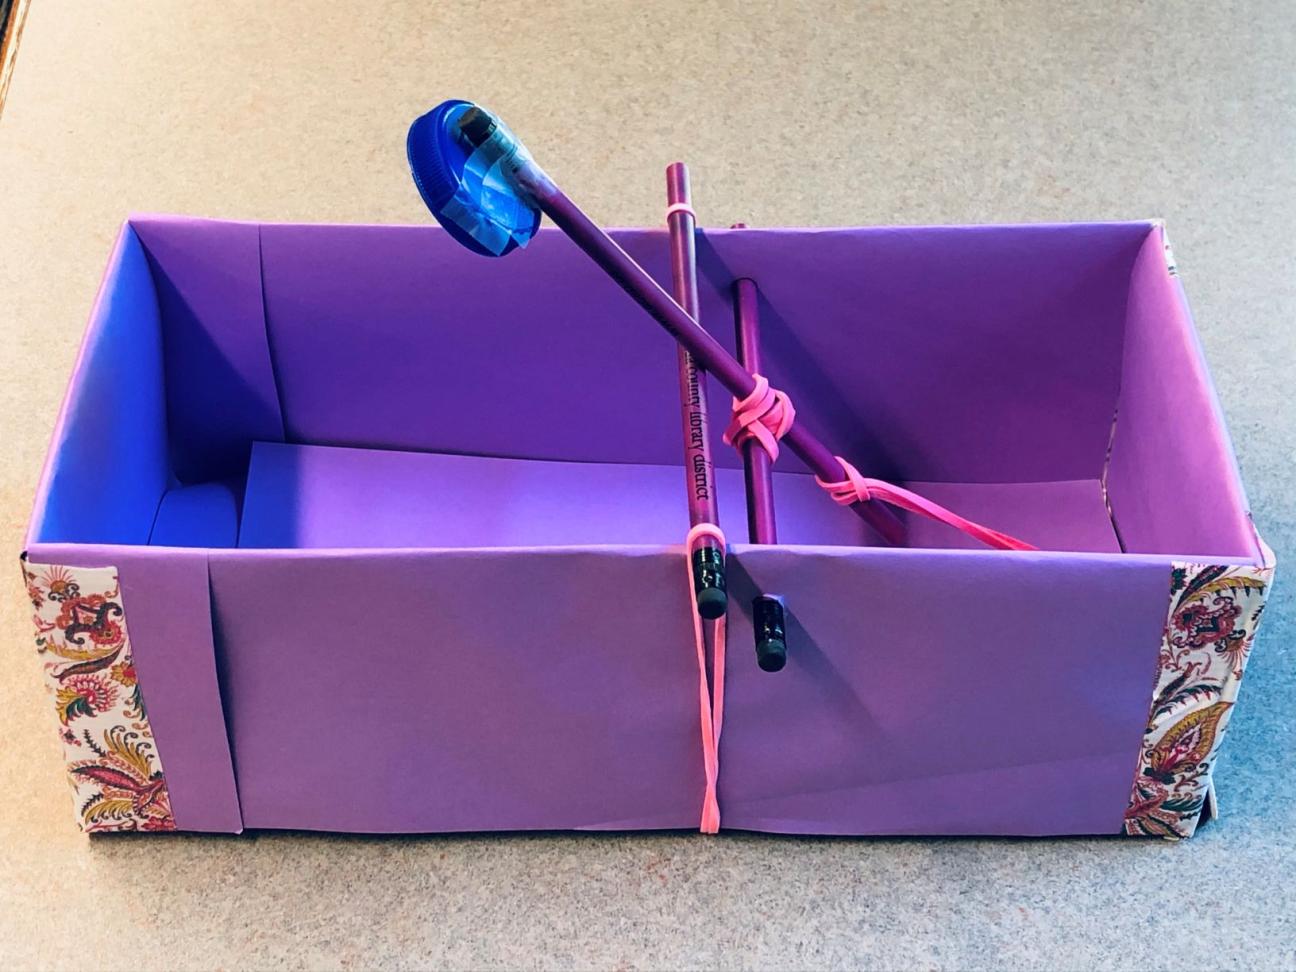
A catapult is a device used to launch objects over large distances using built up tension, force, and, in some cases, gravity. There are various types of catapults, including slingshots, trebuchets, and ballista.
Catapults were originally created as a weapon for war in ancient times, but you can make your own (less dangerous) version of the ancient device with a shoe box, pencils, and rubber bands for a fun time!
Below are a few titles about catapults and how to make them:
You can search our eSource World Book for more information about catapults.
Use your library card to check out Creativebug for more craft ideas.

- Rectangular Box (a shoe box works great)
- 3 Unsharpened Pencils
- 3 Large Rubber Bands
- 1 Popsicle Stick or Large Paper Clip
- Bottle Cap
- Tape or Glue
- Hole Punch
- Scissors (optional)
Note: You can decorate your box before you begin crafting your catapult if you'd like.

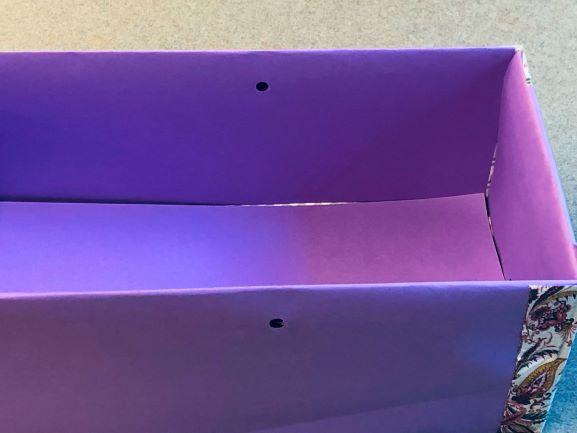
Step 1: On the long side of the shoe box, measure 3-4 inches from the corner edge and use the hole punch to make a hole. Do the same thing along the opposite side.
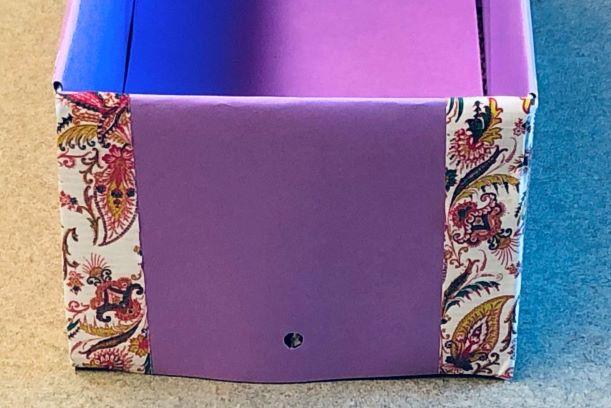
Step 2: On the short side of the box closest to the holes you made, make a 3rd hole centered at the bottom of the box. If your hole punch can't reach that area, you can ask an adult to help you make a hole with the scissors.
Step 3: Using 2 of the pencils, make an upside down lower case letter T. This will be the launcher of your catapult.
Step 4: Take one of the rubber bands and secure the upside down T-shape by wrapping the rubber band around the connected parts of the pencils. This doesn't have to be done a certain way; just make sure that the pencils are securely attached to each other in that shape.
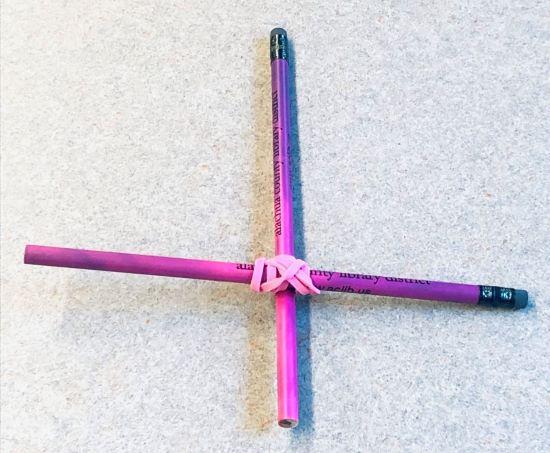
Step 5: Put each end of the horizontal pencil in the holes you made on the sides of the box.
Step 6: Place the 3rd pencil along the top of the box slightly in front of the T-shaped pencil. This will be your stopper so that the catapult doesn't fly too far forward.
To secure the pencil in place, loop each end of the rubber band to both ends of the pencil, with the rest of the rubber band going under the box. If you don't have a rubber band large enough to stretch under the box, you can connect 2 rubber bands together to make 1 longer one.
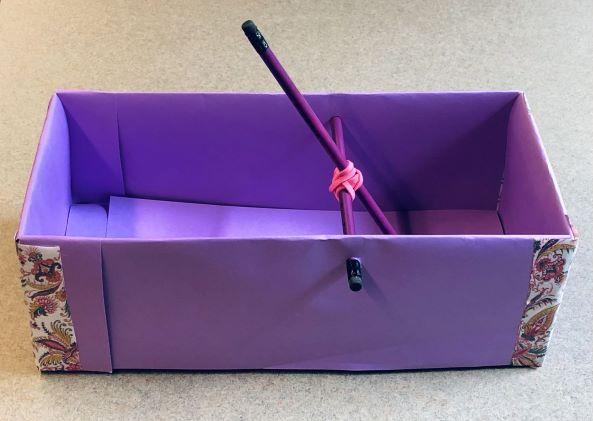
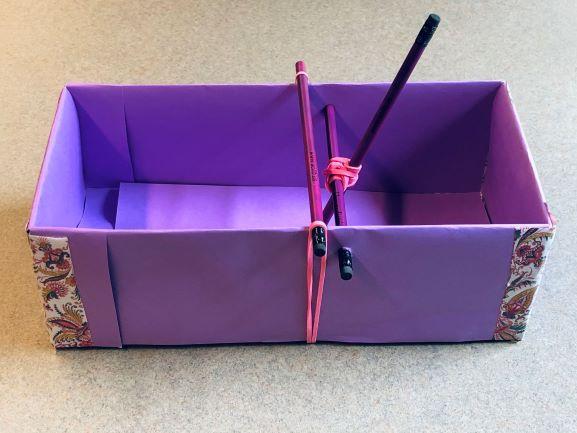
Step 7: Using another rubber band, create a slipknot around the bottom end of the catapult pencil. Once firmly attached to the pencil, pull the other end of the rubber band through that 3rd hole in the box. This will provide tension for your catapult. You can keep the rubber band from slipping back through the hold by wrapping it around a popsicle stick or large paper clip.
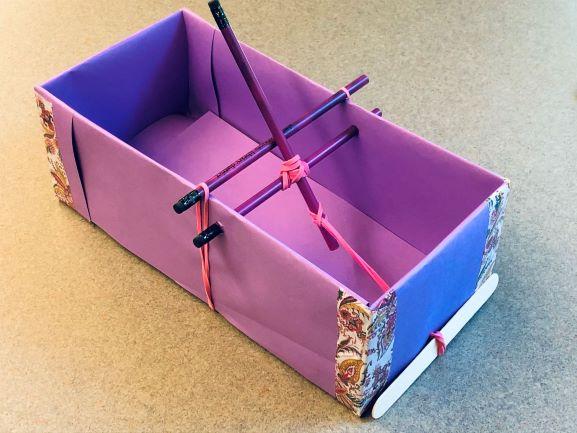
Step 8: Tape or glue the cap to the top of the pencil. This will be where you place your ammo for your catapult.
Your catapult is ready for battle!
