Friday the 13th has long been viewed as a day of bad luck, but we like to celebrate it here at the Millhopper Branch. This Friday the 13th, we will be facing some different bad luck superstitions in our decorating of a mosaic gazing ball. As many people are aware: it is said to be 7 years bad luck to break a mirror. In many cultures, it is considered bad luck to decorate with seashells. Well I'm going to turn that bad luck around by utilizing those broken mirror pieces and seashells for the mosaic of my gazing ball.
To make a Bad Luck Gazing Ball you are going to need a few things
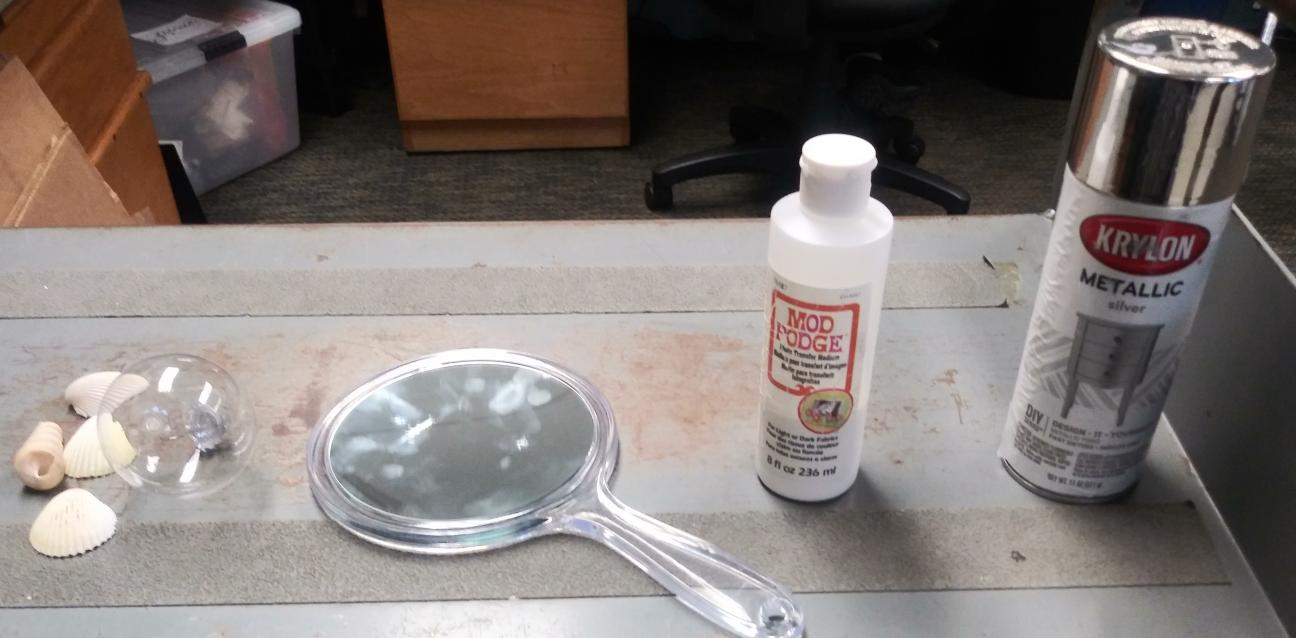
1) Ball - this can be a foam ball, an old float, a bowling ball, or so many more as long as they have a firmness to them. I will be using a clear plastic ornament ball.
2) Adhesive - It is best to use something stronger than normal glue. I recommend thinset, silicone II sealant, or Mod Podge (which I will be using)
3) Mosaic pieces - This can be anything that can be glued onto the ball in an abstract way like broken china, porcelain, CDs, etc.. To keep with the Friday the 13th theme of bad luck, I will be using broken mirror pieces and seashells.
The next items are optional:
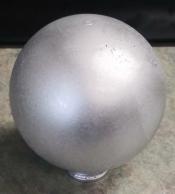
4) Metalic Spray Paint - To improve the ball's reflective properties.
5) Grout - If your ball is going to be handled often, mixing grout into your adhesive is good for filling in around the broken pieces.
6) Post - If you are using a bowling ball or a plastic ornament with the top removed then you can get a wooden or metal post that fits in the hole to balance the gazing ball on.
For the
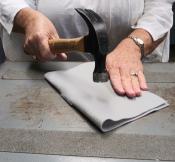
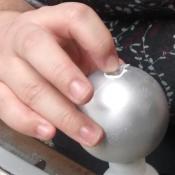
Once the pieces are broken into appropriate sizes, it is time to start adhering them to the ball. It is easier to use a paint brush to spread the adhesive onto the back of the piece - though if you have an adhesive that is easy to squeeze and direct then that works too. Before adding the adhesive to the piece, place it on the ball and move it around until you find the spot it seems to be made for. Once the adhesive is on the piece, press and hold it to the spot for however long your chosen adhesive recommends.
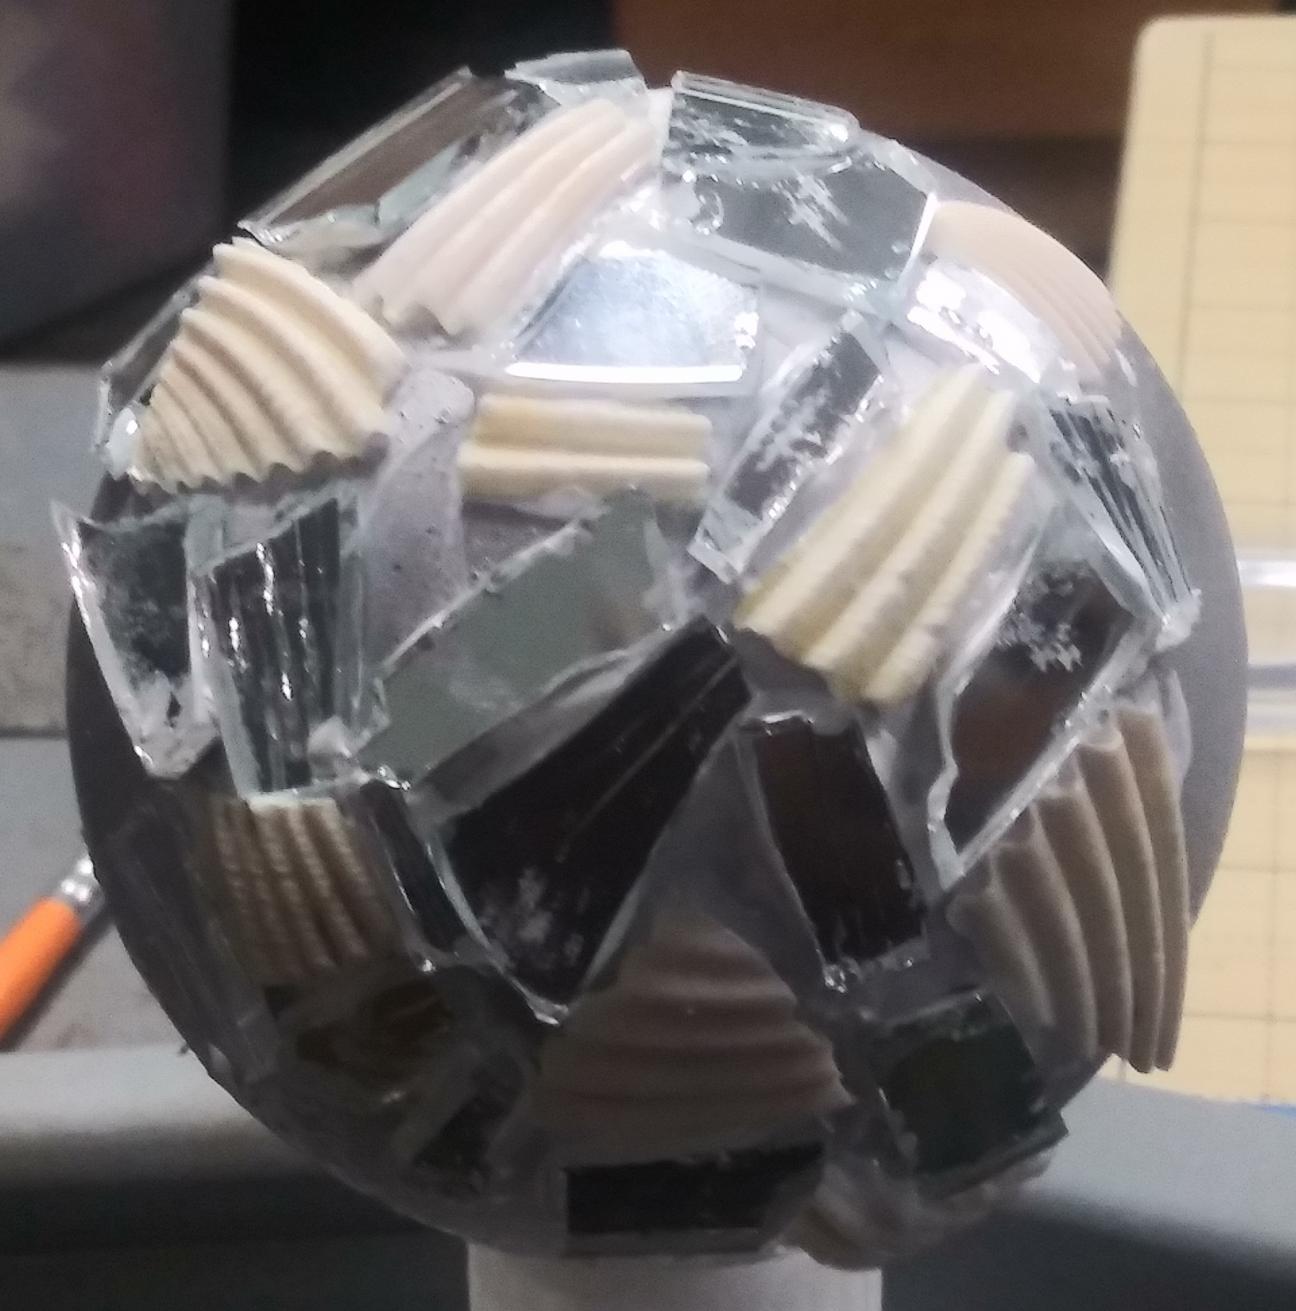
After the first piece is in place, find another piece that fits near it. Remember these are broken pieces and it is a mosaic, so be careful and don't force every bit of surface to be filled. Continue to add to your mosaic in an outward radiating pattern until the ball is complete. Leave your gazing ball to sit for 24 hours to allow it to fully dry.
After the 24 hours are up, check to see if any pieces appear to be loose. At this point you can add more adhesive to your ball (as long as it is a clear dry). This is also when those of you who opted for grout can mix it into your adhsive. For this step you will want a paint brush. You are going to fill the grout and adhesive mixture into the gaps between your pieces. This should help to protect anyone who handles your ball from cutting themselves on the edges. At this point you will need to leave your ball to dry for however long the grout you chose recommends.
Once your gazing ball is completely finished, it is time to place it. The size of your ball will play a big role in your placement decision.
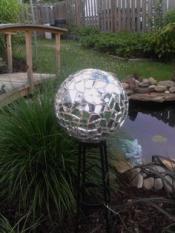
Those of you who chose a bigger ball will probably find it is best placed in your yard or garden.
For those with smaller balls - like mine - there are a variety of options:
1) A centerpiece on a mantel
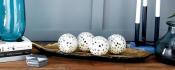
2) On your desk for relaxing
3) Set out like the larger ones
For more Friday the 13th fun and information, check out the following materials: