If you've never heard of a book nook, you're not alone. Until recently, I had no idea what they were, but they're pretty awesome. A hidden world tucked away on your bookshelf, book nooks can range from very simple to intricately detailed with LED lights and timers. It can be hard to get started on making one, though, if you don't have the right supplies.
But a lot of you probably have LEGO brickss lying around at home! LEGO are an easy, beginner friendly version of the more complicated book nooks you might see floating around elsewhere on the internet. Continue on for some tips and tricks to create your book nook, books to check out, and a time lapse video of me building my own DIY LEGO book nook.
And if LEGO blocks aren't your thing, search online or check out our eSource, Creativebug, for different kinds of book nook inspiration.

The first thing to consider is your base!
Things to take into account when designing your base:
- What's the average width of the books on your bookshelf? The average depth?
- How big do you want your book nook to be in comparison to your books?
- What size are the LEGO base plates you have available to you? Do you have other flat LEGO bricks that you can piece together to make them bigger/longer? (That's what I did)
- Do you have angled base pieces? These can be cool if you want to put a mirror on your finished book nook (more on that later)
- If you're going to use LEDs, do you need to build space into the base of your book nook to hold wires and/or batteries?
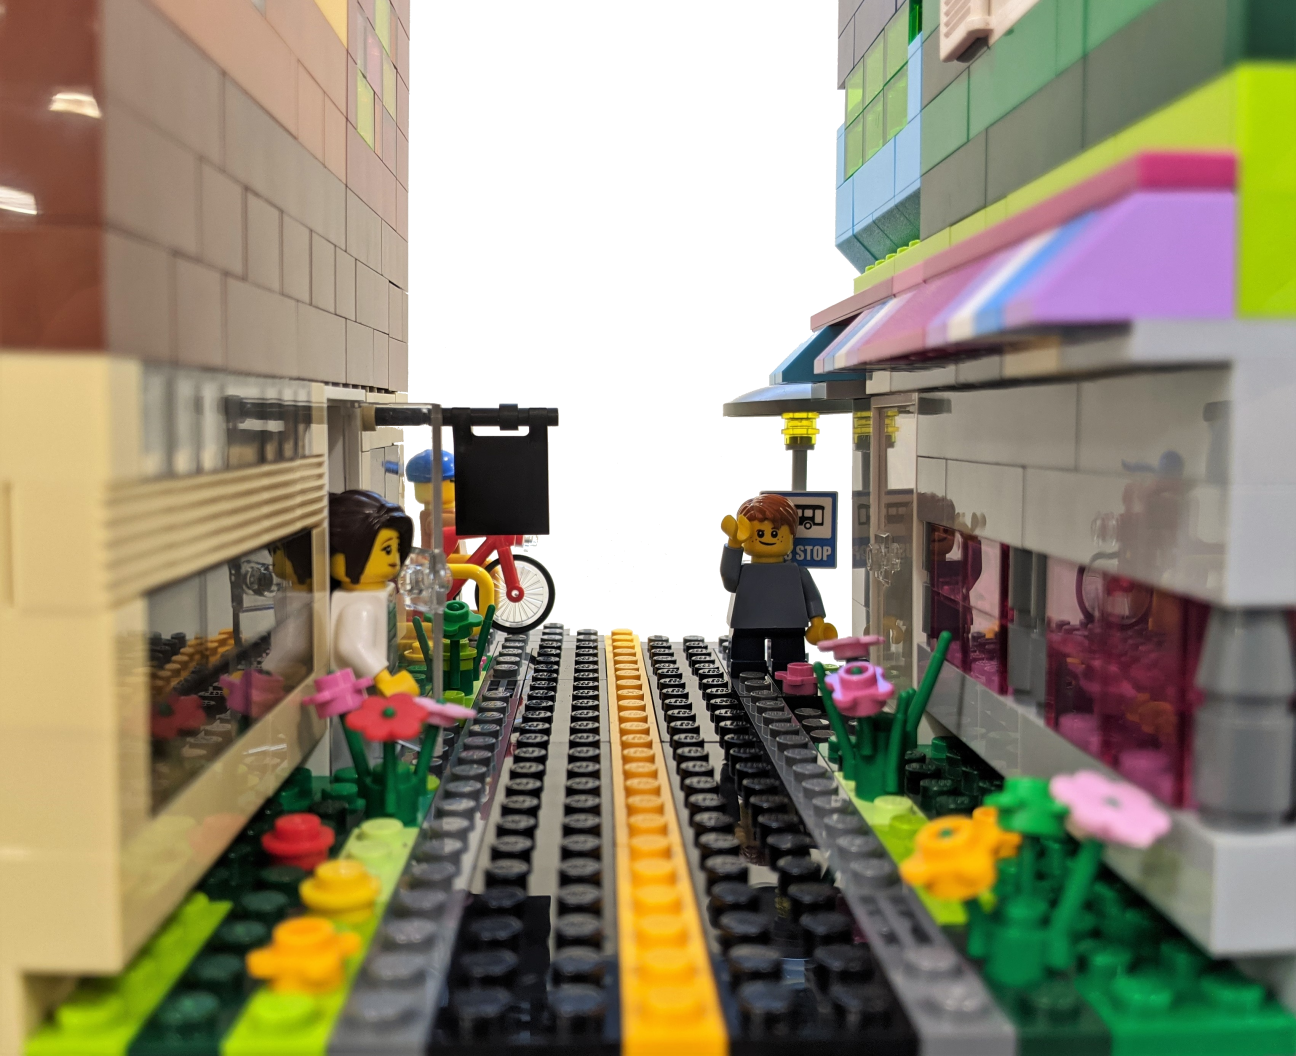
I used two angled pieces at the end of my base, so the dimensions for mine ended up being 16 dots wide (which is about the width of 2-3 YA books) and 21 dots deep on the shorter side.
The next thing to focus on is the width of your walls. When I started working on mine, I initially made the buildings on both sides of my book nook 3 dots deep. However, this left an even number of dots for my street/sidewalk/grass, and I needed an odd number for the yellow line. This meant I had to rework one whole side of my book nook down to 2 dots deep. If you know you want to make a street scene, keep this in mind. If you plan for it in advance, you'll be much less frustrated than I was!
You'll also want to take into account the LEGO bricks you have at your disposal. If you know you don't have a lot of a certain shape or size, it might be good to plan around that so you don't end up with a 1x1 hole that you can't fill because you ran out of gray bricks.
Something you'll probably worry about at the end of making your book nook, but I want to bring it to your attention now: cardboard. You can cut pieces of cardboard to roughly the size of both sides (and the base, if you want) and then paint it or wrap it in colorful paper and stick it to your book nook. This can help give it a clean finish as well as added stability (that's a big problem with LEGO; if you push your books together too hard, one or both walls of your book nook may come crashing down).

I went into this project wanting to make a Star Wars book nook.
My dreams were crushed almost immediately, because we didn't have any Star Wars themed LEGO bricks.
That's probably going to happen to you, too! You might go into this thinking you know exactly how you want your book nook to look, only to discover that you're missing some pretty crucial pieces. But that's okay. Try to work with what you do have—I guarantee that you'll end up with some pretty awesome features for your book nook that you wouldn't have come up with just by brainstorming ideas.
These are some of the things I didn't plan, but they ended up being some of my favorite features in my book nook:
- The yellow stripe through the second story
- Using different colors on a single story in order to make it look like there's multiple apartments or businesses
- I ran out of clear/transparent gray bricks pretty quickly, so I ended up using multi color transparent bricks to make a stained glass window, as well as car windshields!

I'm sure we all remember how hard it is to pull flat LEGO bricks apart when they've been sandwiched together for too long. I can guarantee that you will have to do that while building your book nook. Probably multiple times. It's difficult, hard on your nails, and it makes it easy to get frustrated fast. Sometimes taking them off means taking apart what you've already done, but don't panic—you can probably put it together exactly as it was, but even if you can't, that's alright, too! You might end up with something even better.
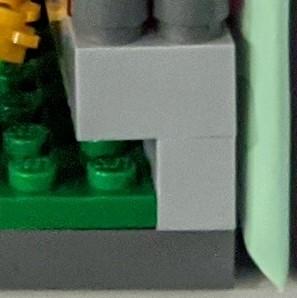
Speaking of taking things apart: you're probably going to break your book nook. When working on mine, I decided to make the windows on the bottom story of buildings overhang the street. This meant that, by the end, a whole lot of LEGO were being held stable by a one-dot row of LEGO. Having such a narrow base led to some instability, which often led to me breaking my storefronts.
If you break your nook a few times, just remember to breathe, and maybe take a break for a bit. When you come back, you might realize there's actually a better way to do whatever it is you're trying. And if you're getting frustrated by having to undo and redo one section several times, that might be a sign that you should try something different!

There are a lot of cool LEGO bricks out there, particularly when it comes to small, decorative LEGO. Here's some ways you can use small, decorative LEGO to up your book nook game:
-
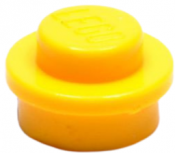
Flowers! Even if you don't have the three-strand grass/flower LEGO, you can use the little round 1x1 dots in several colors to suggest flowersImage
- If you're making buildings, you can put stuff in the windows to make them look like storefronts. While it won't be obvious when looking at it on the shelf, it can add depth to your world
- You could even have a LEGO minifig leaning out of a window! But even if you don't go that route, adding minifigs can add a lot of personality to your book nook
- And of course, just use what you have! Nothing fosters creativity more than taking a random pile of LEGO bricks and seeing what you can make with it. I ended up using lots of pendant-shaped bricks, as well as the tall round (or conical) shaped 1x1 bricks
Some other finishing touches can include:
- Cutting cardboard to the size of each side and taping it in place. This can increase stability, and if you paint the cardboard or wrap it in colored paper, it can help your book nook to pop on the shelf
- I've seen people put mirrors at the end of their nooks to create the illusion that it continues around a bend in the road (this is where the angled base pieces come in handy!). While it might be hard to find a mirror the right shape—or cut one to size—this can really up your book nook game
I'm going to talk about LEDs separately, because they're really cool! They can add a lot life to your book nook while also drawing attention to your shelf.
However, I don't know enough about wires to recommend a method for that in this program. That being said, you can always use one or two strategically placed battery powered LEDs (such as fake tealight candles) to draw the eye. Just tape it to the back of your book nook, and voila! You've added some light to your book nook.
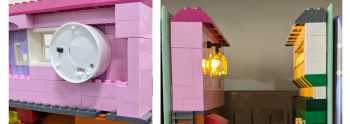
And now you have your book nook! The sky is truly the limit on these, and I can only imagine what y'all might have come up with. Here's a look at my finished book nook:
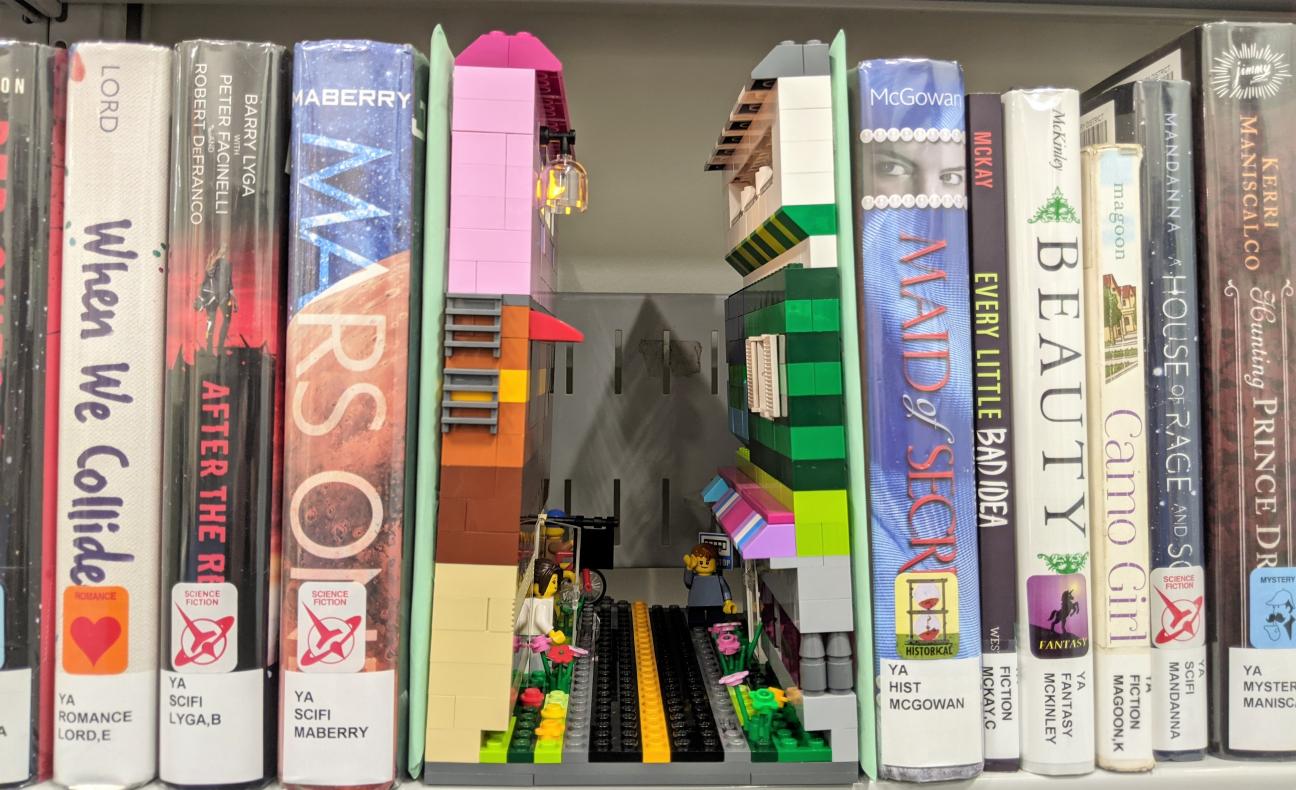
The really awesome thing about LEGO book nooks is that you can be forever changing and updating them. There's nothing that says you're stuck with the same look forever, and I think that's pretty cool!
If you make a book nook and would like to share, tag the library on social media! We're on Facebook, Instagram, and Twitter, and we'd love to see what you create! Also be sure to check out the time lapse video of me building my book nook (minus the cardboard and the LEDs), which you can find below the book recommendations.

