In this blog post I'm going to go through step-by-step instructions on how to make a self-watering planter out of a plastic water bottle. This is a great way to reuse plastics, and it's an easy project for anyone interested in learning how to upcycling disposable materials.
For this craft, you will need the following materials:
- A disposable plastic bottle (for this tutorial I used a miniature plastic water bottle, but almost any size will work)
- Thread, string, or yarn
- Scissors or a box cutter
- A sharpie
- A nail or pushpin
- Planting soil
- A seed or seedling
- A needle
- Any materials you would like to use to decorate your planter (optional)
Step #1
Thoroughly clean your plastic water/soda/juice bottle and remove any plastic or paper labels. Make sure there's no soap or soda/juice left in the bottle.

Step #2
Take a sharpie and draw a two circles around the circumference of your bottle. One circle should be near the top (but far enough down that you're not cutting the sloped neck of the bottle) and the other should be 1/3 - 1/2 of the way up from the bottom of the bottle. If your bottle has an indented hand grip like mine, draw your bottom circle almost, but not quite, at the top of the indent.

Step #3
Take your scissors or box cutters and carefully cut along the lines you've drawn on your bottle. This will give you three pieces.

Step #4
Go ahead and set the middle piece aside or dispose of it. You will not need it for this project. Next, use a nail or pushpin to pierce a hole in the center of your bottle cap. The hole has to be big enough to fit a piece of thread or string through, so you may have to pierce it a few times to widen the hole if you are using a push pin or a small nail.

Step #5
Set the bottle cap aside for now.
If you'd like, go ahead and decorate the outside of your bottle pieces. For my example bottle, I chose to paint the top half green and put green and blue glitter on the bottom half. Feel free to go wild, or to leave them plain if you prefer a more utilitarian look. The choice is yours. Make sure, however, that no potentially toxic materials (like paint) end up inside the bottle pieces. Keep all the decorations on the outside so when you add water later it stays clean.

Step #6
While your bottle pieces dry (if they need to) cut a piece of string, thread, or yarn about twice the length of the bottom piece of your bottle. The length doesn't have to be exact so it's fine to eyeball it. Thread your string through the hole in your bottle cap and pull the cap down until it's at about the halfway point of the string. You may have to use a needle if the thread won't go through on its own.

Step #7
Screw the top back onto your top bottle piece, making sure that the thread goes through the bottle.

Step #8
Fill the bottom piece of your bottle about 1/3 - 1/2 full of water. Make sure not to overfill. When you recombine the top and the bottom pieces you don't want the water level to be so high that the bottle cap is submerged.

Step #9
Place the top half of your bottle on top of the bottom half so the thread hangs down into the water.


Step #10
Fill the top half of your water bottle planter with planting soil. Make sure the thread is buried, but not crumpled in a ball inside the bottle cap. Then, place your seed or seedling in the soil. For my example planter I used tarragon seeds.

Step #11
Place your self-watering platner in the sun and then you are done! Ta da! While you're waiting for your seed or seedling to grow, go ahead and create as many planters as you'd like. Just be sure to check the water level in the bottom of your planter once a week or so and refill it once it's empty.

(The heart boot planter is ceramic and included for decorative purposes only)
Are you creating a bunch of planters you need to keep organized? If so, check out SarahG's blog on How to Make Plant Markers out of a yogurt container.
Interested in more upcycle projects? Take a look at what's available on our eSource Creativebug, or check out the awesome books listed below.


Upcycling Celebrations by Danny Seo
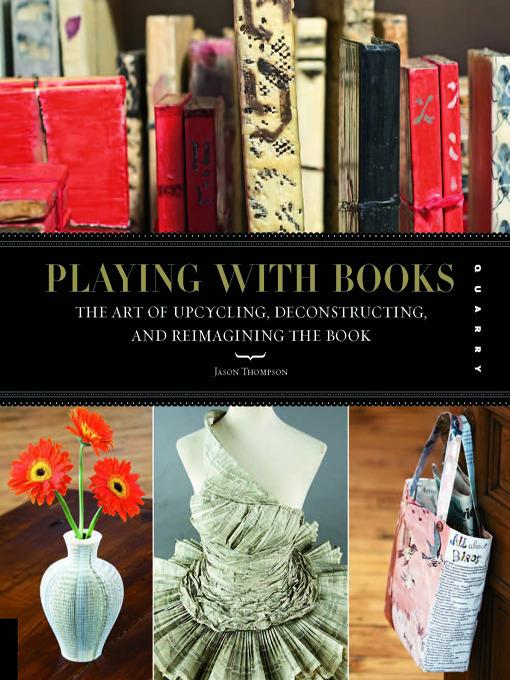
Playing with Books by Jason Thompson
Wear, Repair, Repurpose by Lily Fulop
The Repurposed Library by Lisa Occhipinti
Trash Origami by Michael G. Lafosse & Richard L. Alexander
1000 Ideas for Creative Reuse by Garth Johnson