If you are looking for a fun craft to do, or a cheap way of refreshing your space, these Mod Podge Bowls are just the thing for you. These bowls are perfect for holding accessories, change, keys, jewelry, and all your odds and ends. If this is your first Mod Podge bowl or similar craft you might want to check out CreativeBug's Glue101 before you start. This class is perfect for anyone interested in collage, mixed media, image transfers, and using glue in general. The instructor explains how each type of glue works, as well as its ideal crafting use.
To get started, we will need a few things.
- Mod Podge
- paint brush
- sturdy bowl or balloon
- paper towels or newspaper
- plastic wrap
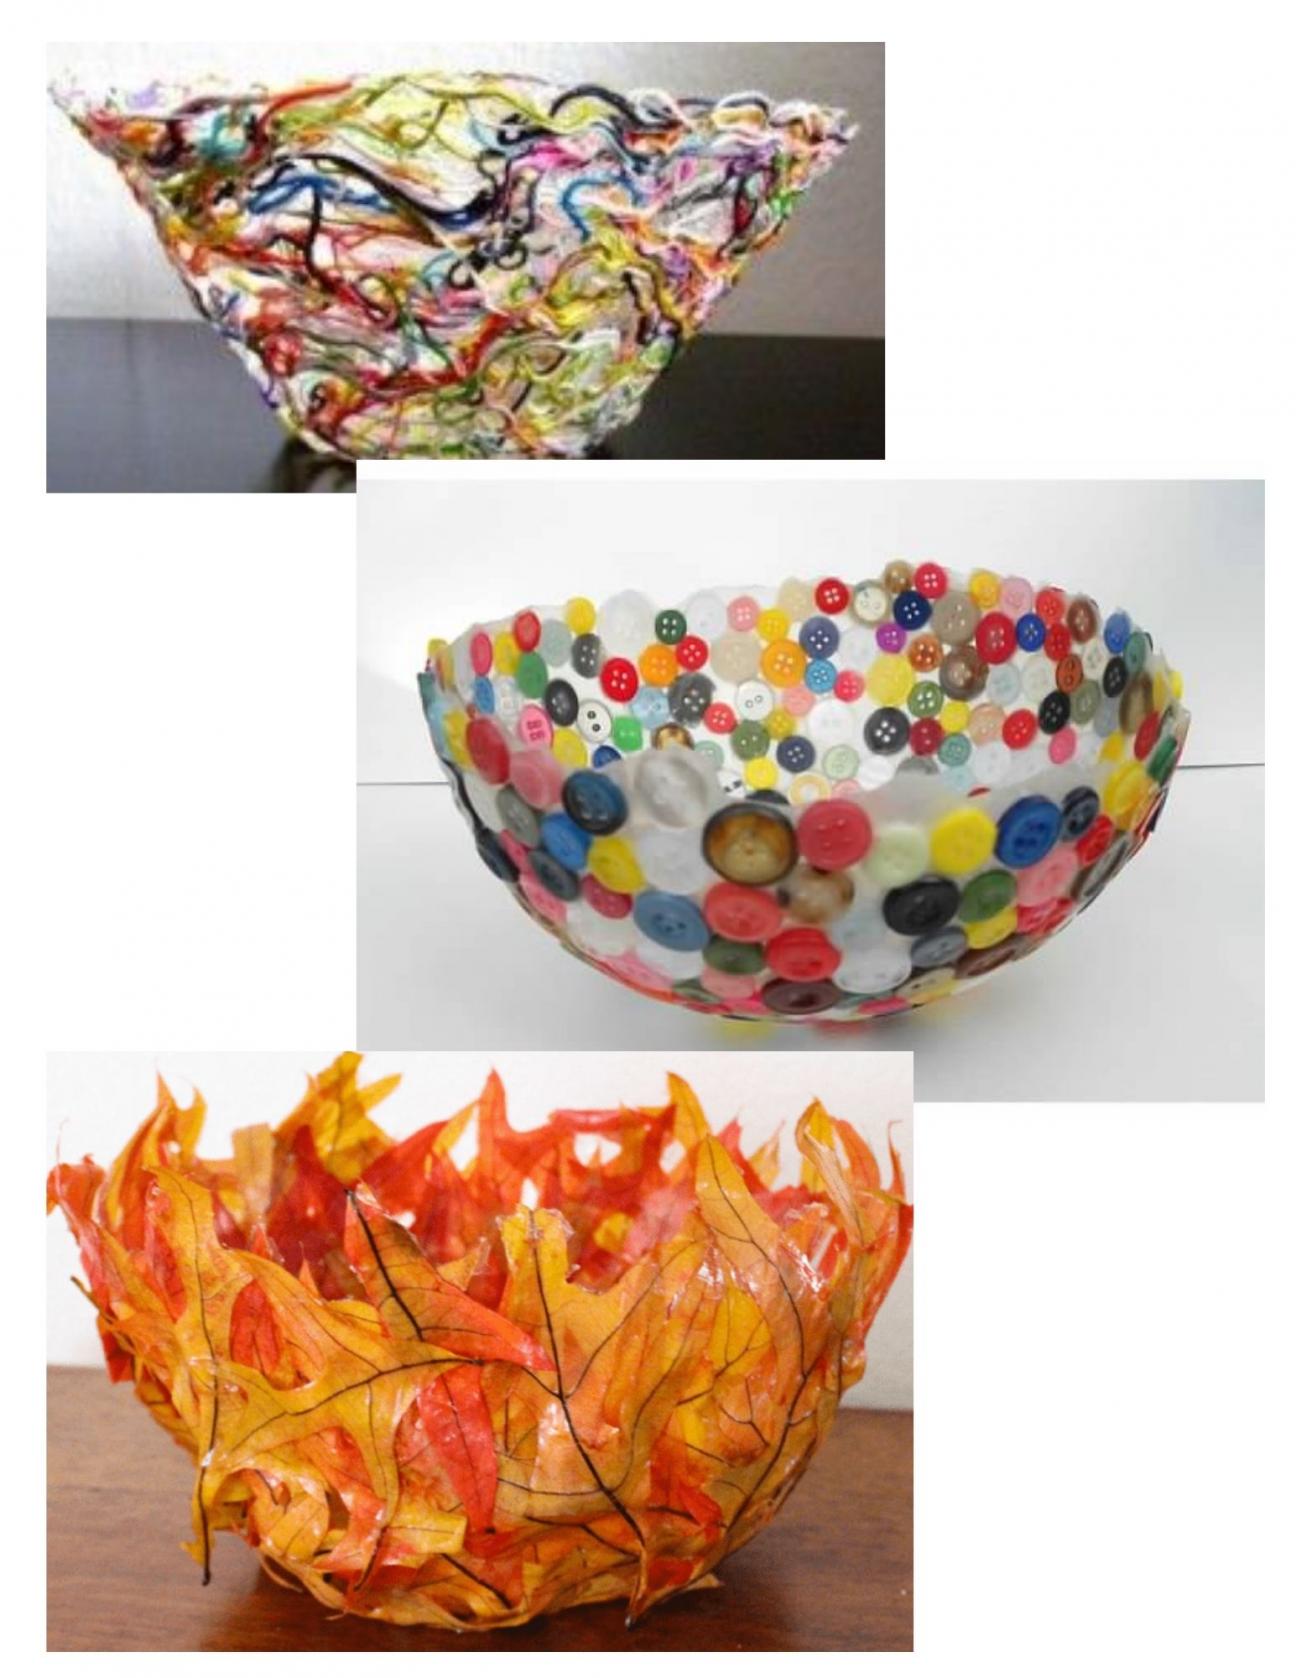
The main two things we'll need is Mod Podge and whatever item we want to make our bowl out of. Now if you do not have Mod Podge that is okay because you can actually make it yourself. The recipe to make Mod Podge is simply white liquid glue and water. Whatever amount of glue you use, you will add a third of that in water. Meaning if you use one cup of glue, then you will add 1/3 cup of water. Mix that up and we've got ourselves some homemade Mod Podge. As for the material you want to make your bowl out of, that is completely up to you. This can be something you have lying around like yarn, buttons, colorful paper, leafs, scrap fabric, glitter, etc.
Now that we have all our supplies ready, let's get to crafting. Because this is kind of a messy craft we will want to lay down some newspaper or paper towels to keep our surface area clean. Next we'll want to get our bowl and cover it in plastic wrap. You can also use a balloon for this step, no need for plastic wrap, just pop it once the glue has dried. Depending on what size you want your finished bowl to be, you can glue items either to the inside or the outside of our bowl. Heavier items like buttons tend to be better glued to the inside, while lighter items like paper tend to work better when glued to the outside.
Carefully and slowly start to glue your items to the plastic wrap covered bowl, starting in the middle works best. Work your way outward until you reach the size bowl you want. Depending on the stiffness of your materials you might need to do more than one layer. If this is the case then make sure to let each layer dry fully before adding more materials. Once we are happy with the size, shape, and stiffness of our bowl it is time to remove it; this is where the plastic wrap comes in handy. We should be able to lift our new bowl and peel off the plastic wrap pretty easily. Take it nice and slow, and voila, we have a fun and one of a kind new bowl!
For more fun and creative crafts check out CreativeBug's classes. These ones look especially interesting: Stitched Rope Basket, Stamped Ceramics, Decoupaged Jewelry Holder, or Paper Clay Bowls. You can also check out these cool library books for similar craft ideas.